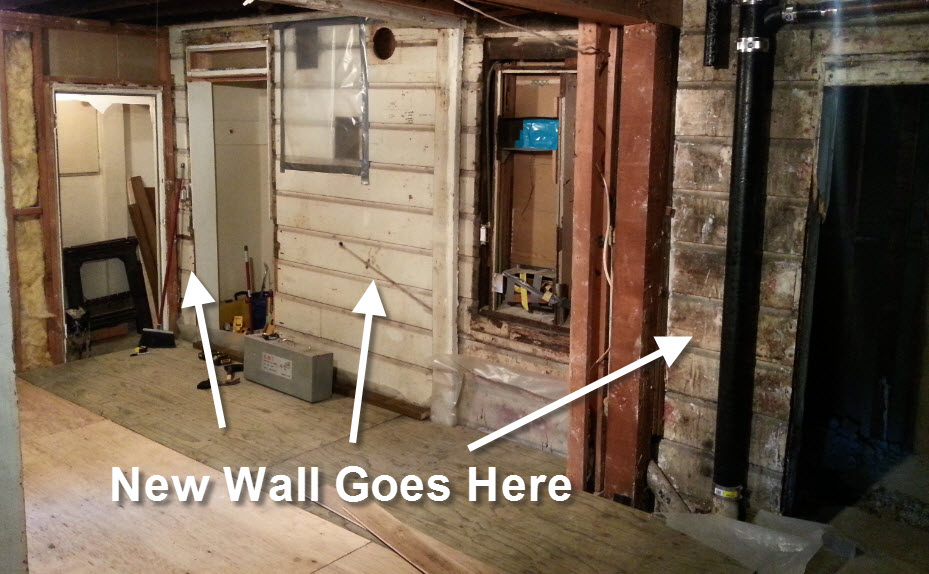
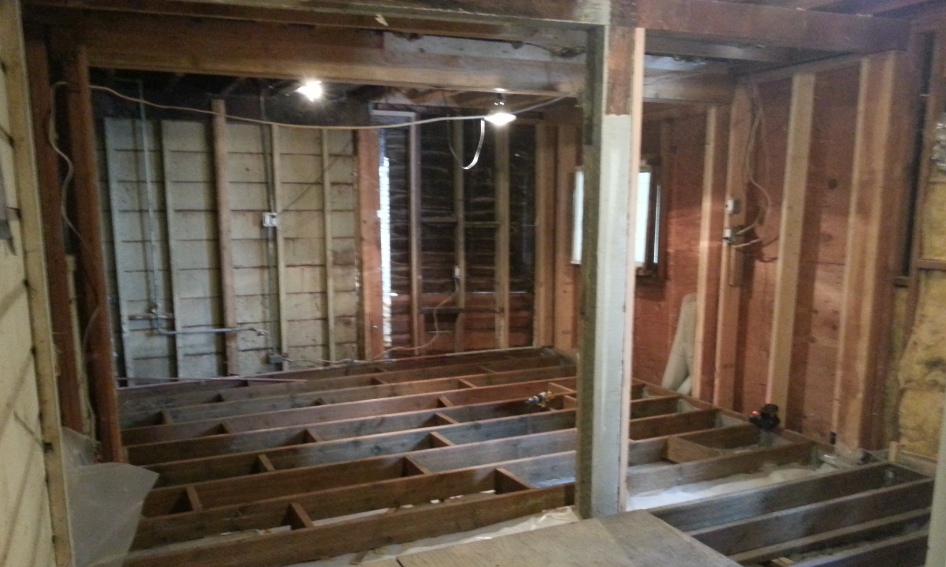
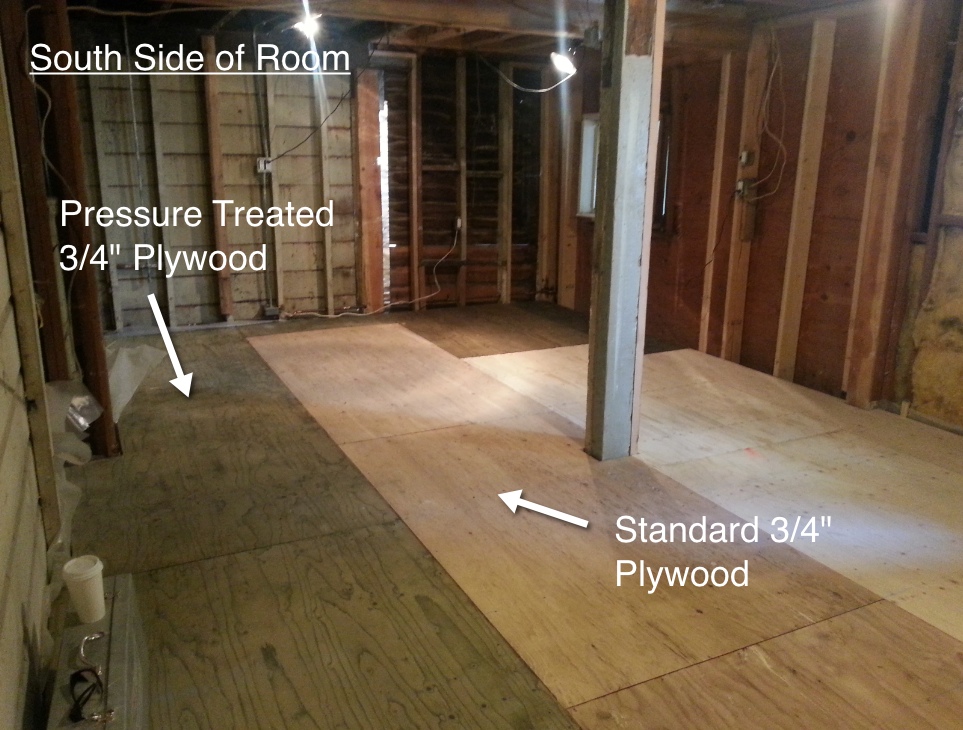
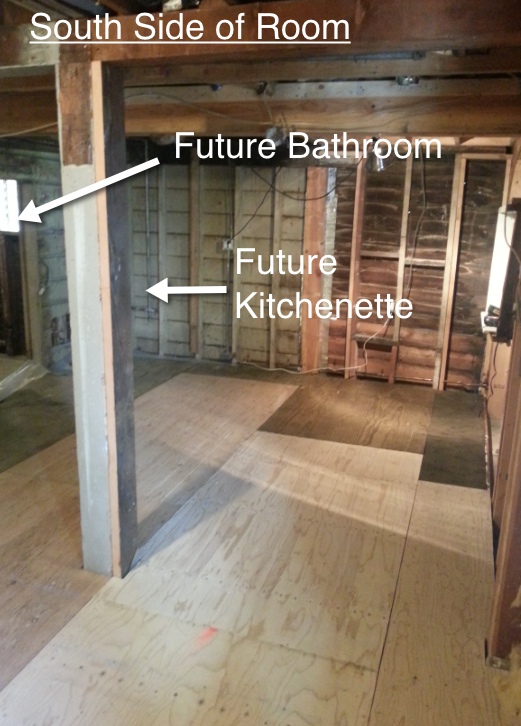
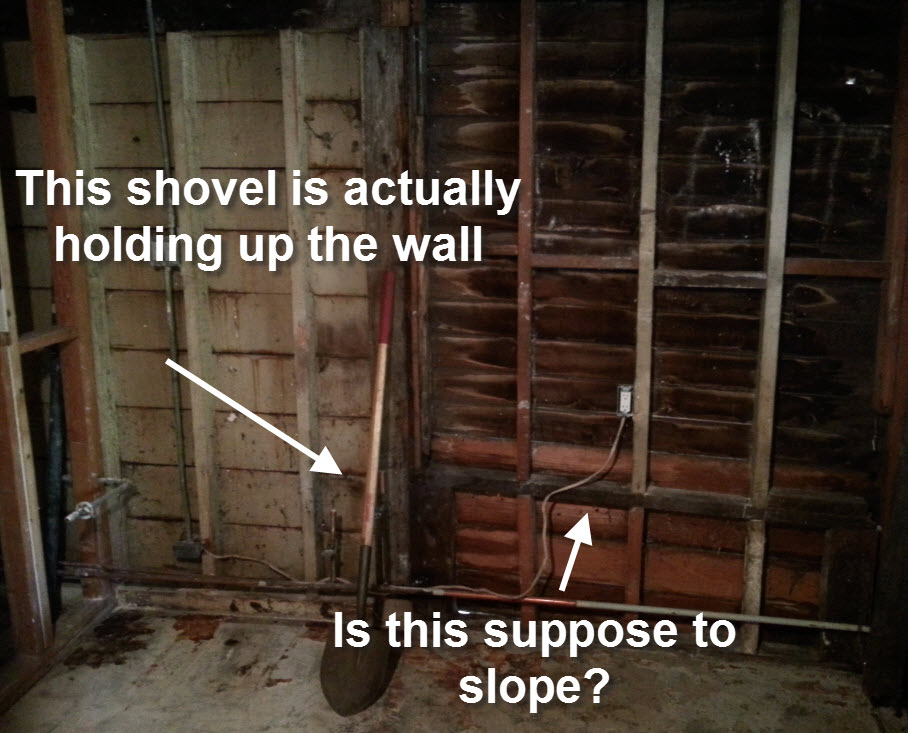
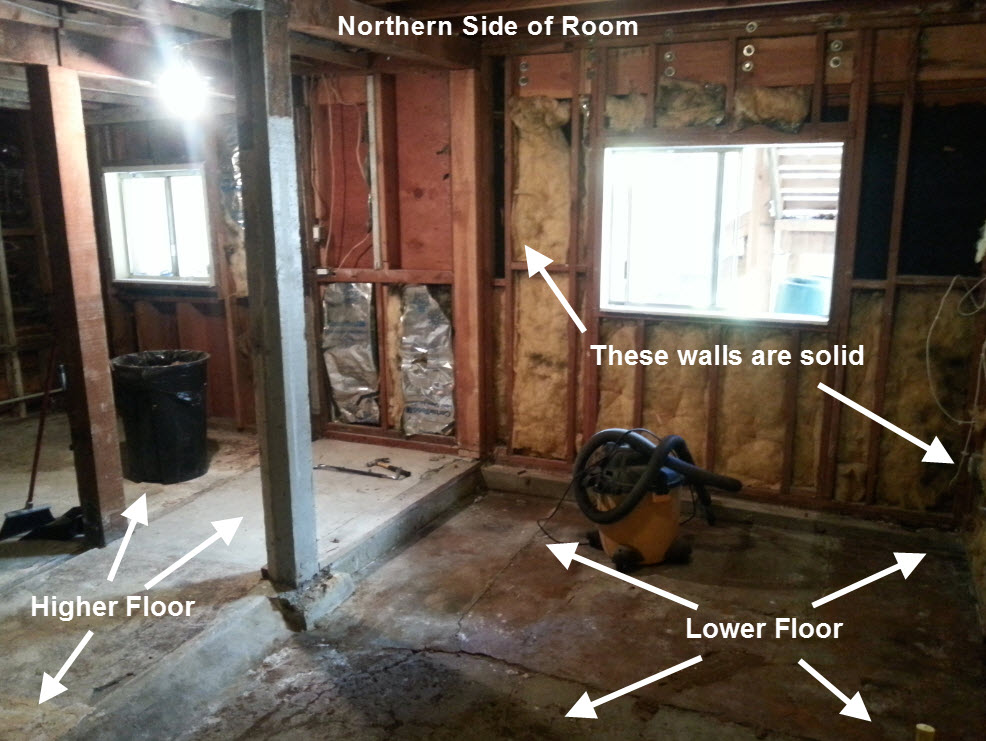
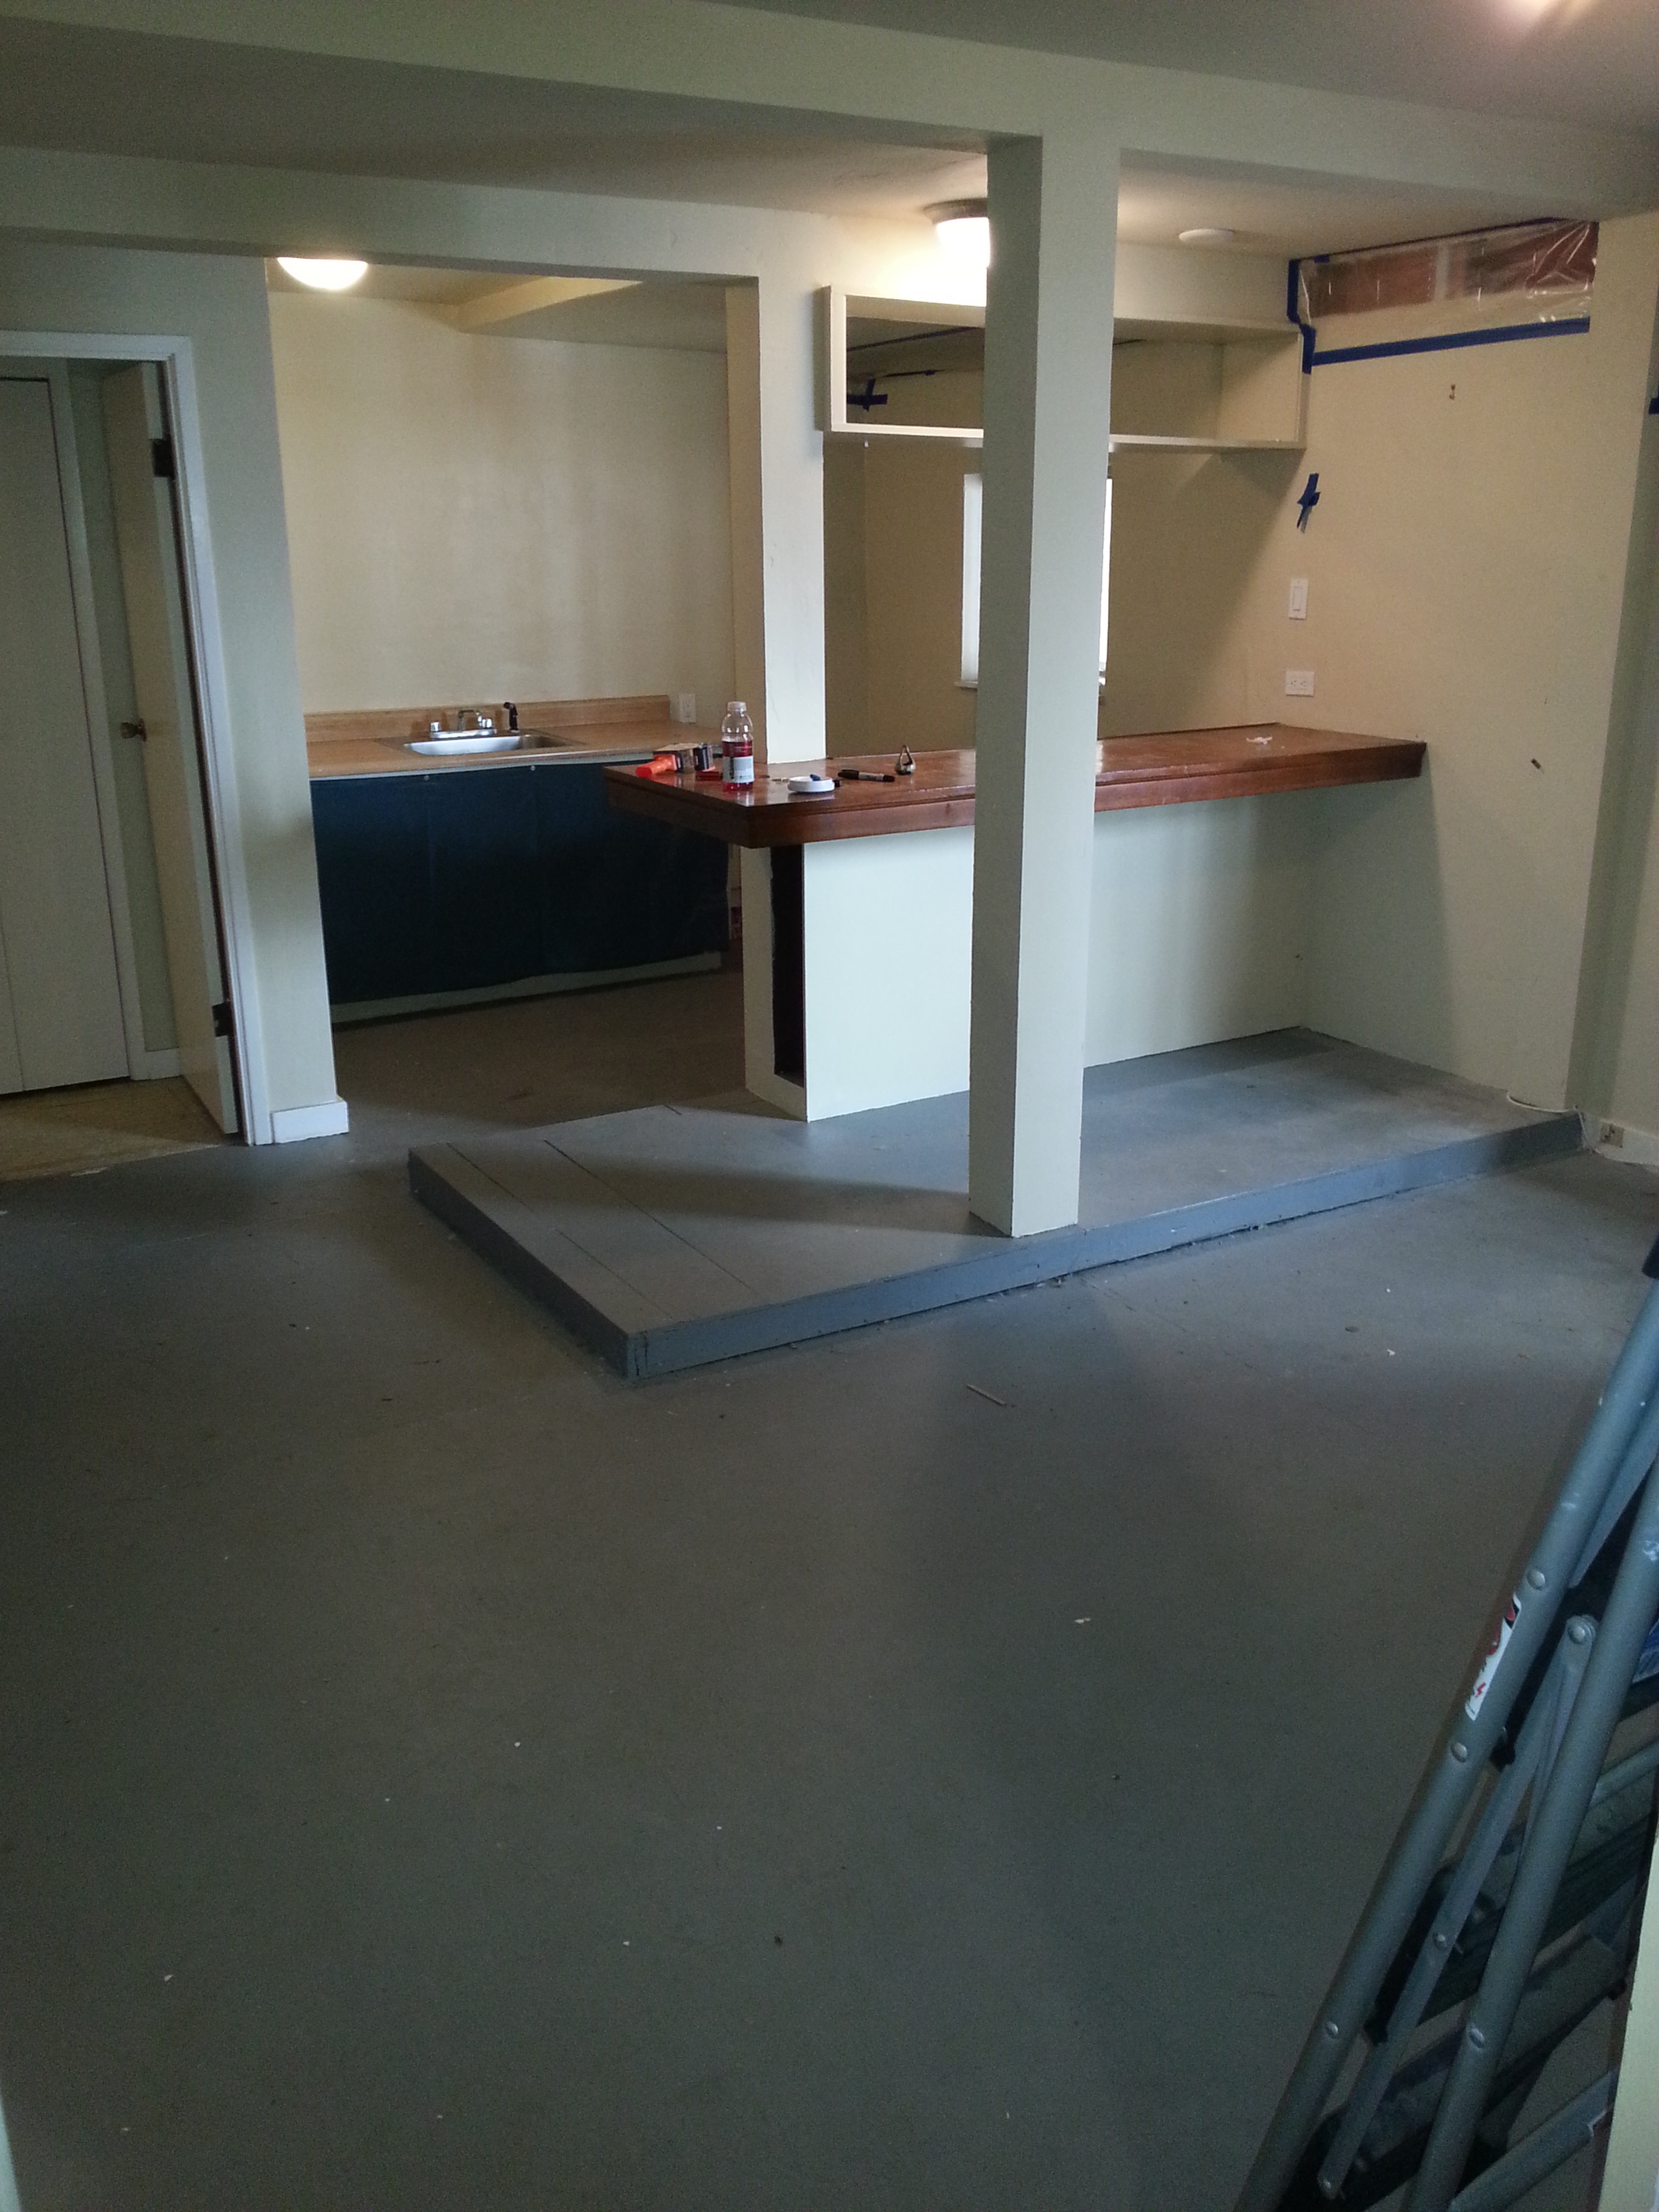
Just when I thought I might be done working on my hands & knees, I was reminded that I still need to finish the bathroom floor. I have grand dreams about what this bathroom will end up looking like. It will have a tile shower & tub combo, recessed lighting, a nice big window and an open concept vanity with a drop-in sink. It will be lovely, however, getting the bathroom from its current state to that finished product is a daunting prospect. Especially considering my bathroom currently looks like this:
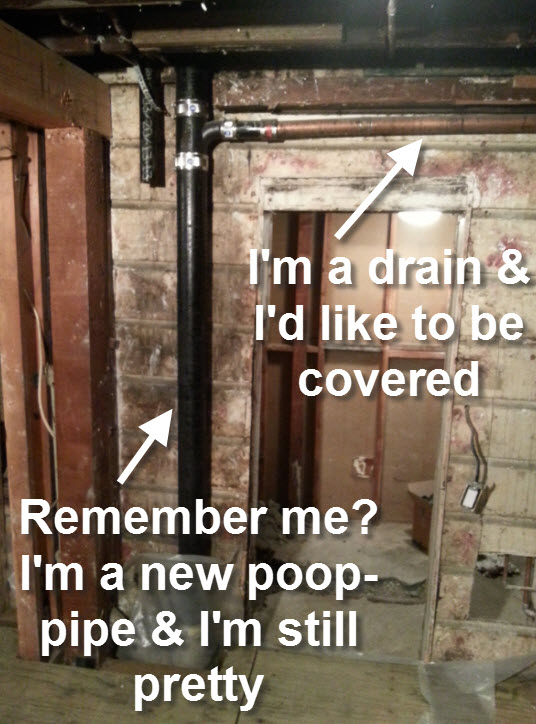
As you may remember, when I first started looking into renovating the bathroom I discovered that none of the drains were vented. Here’s a link to that post to refresh your memory:
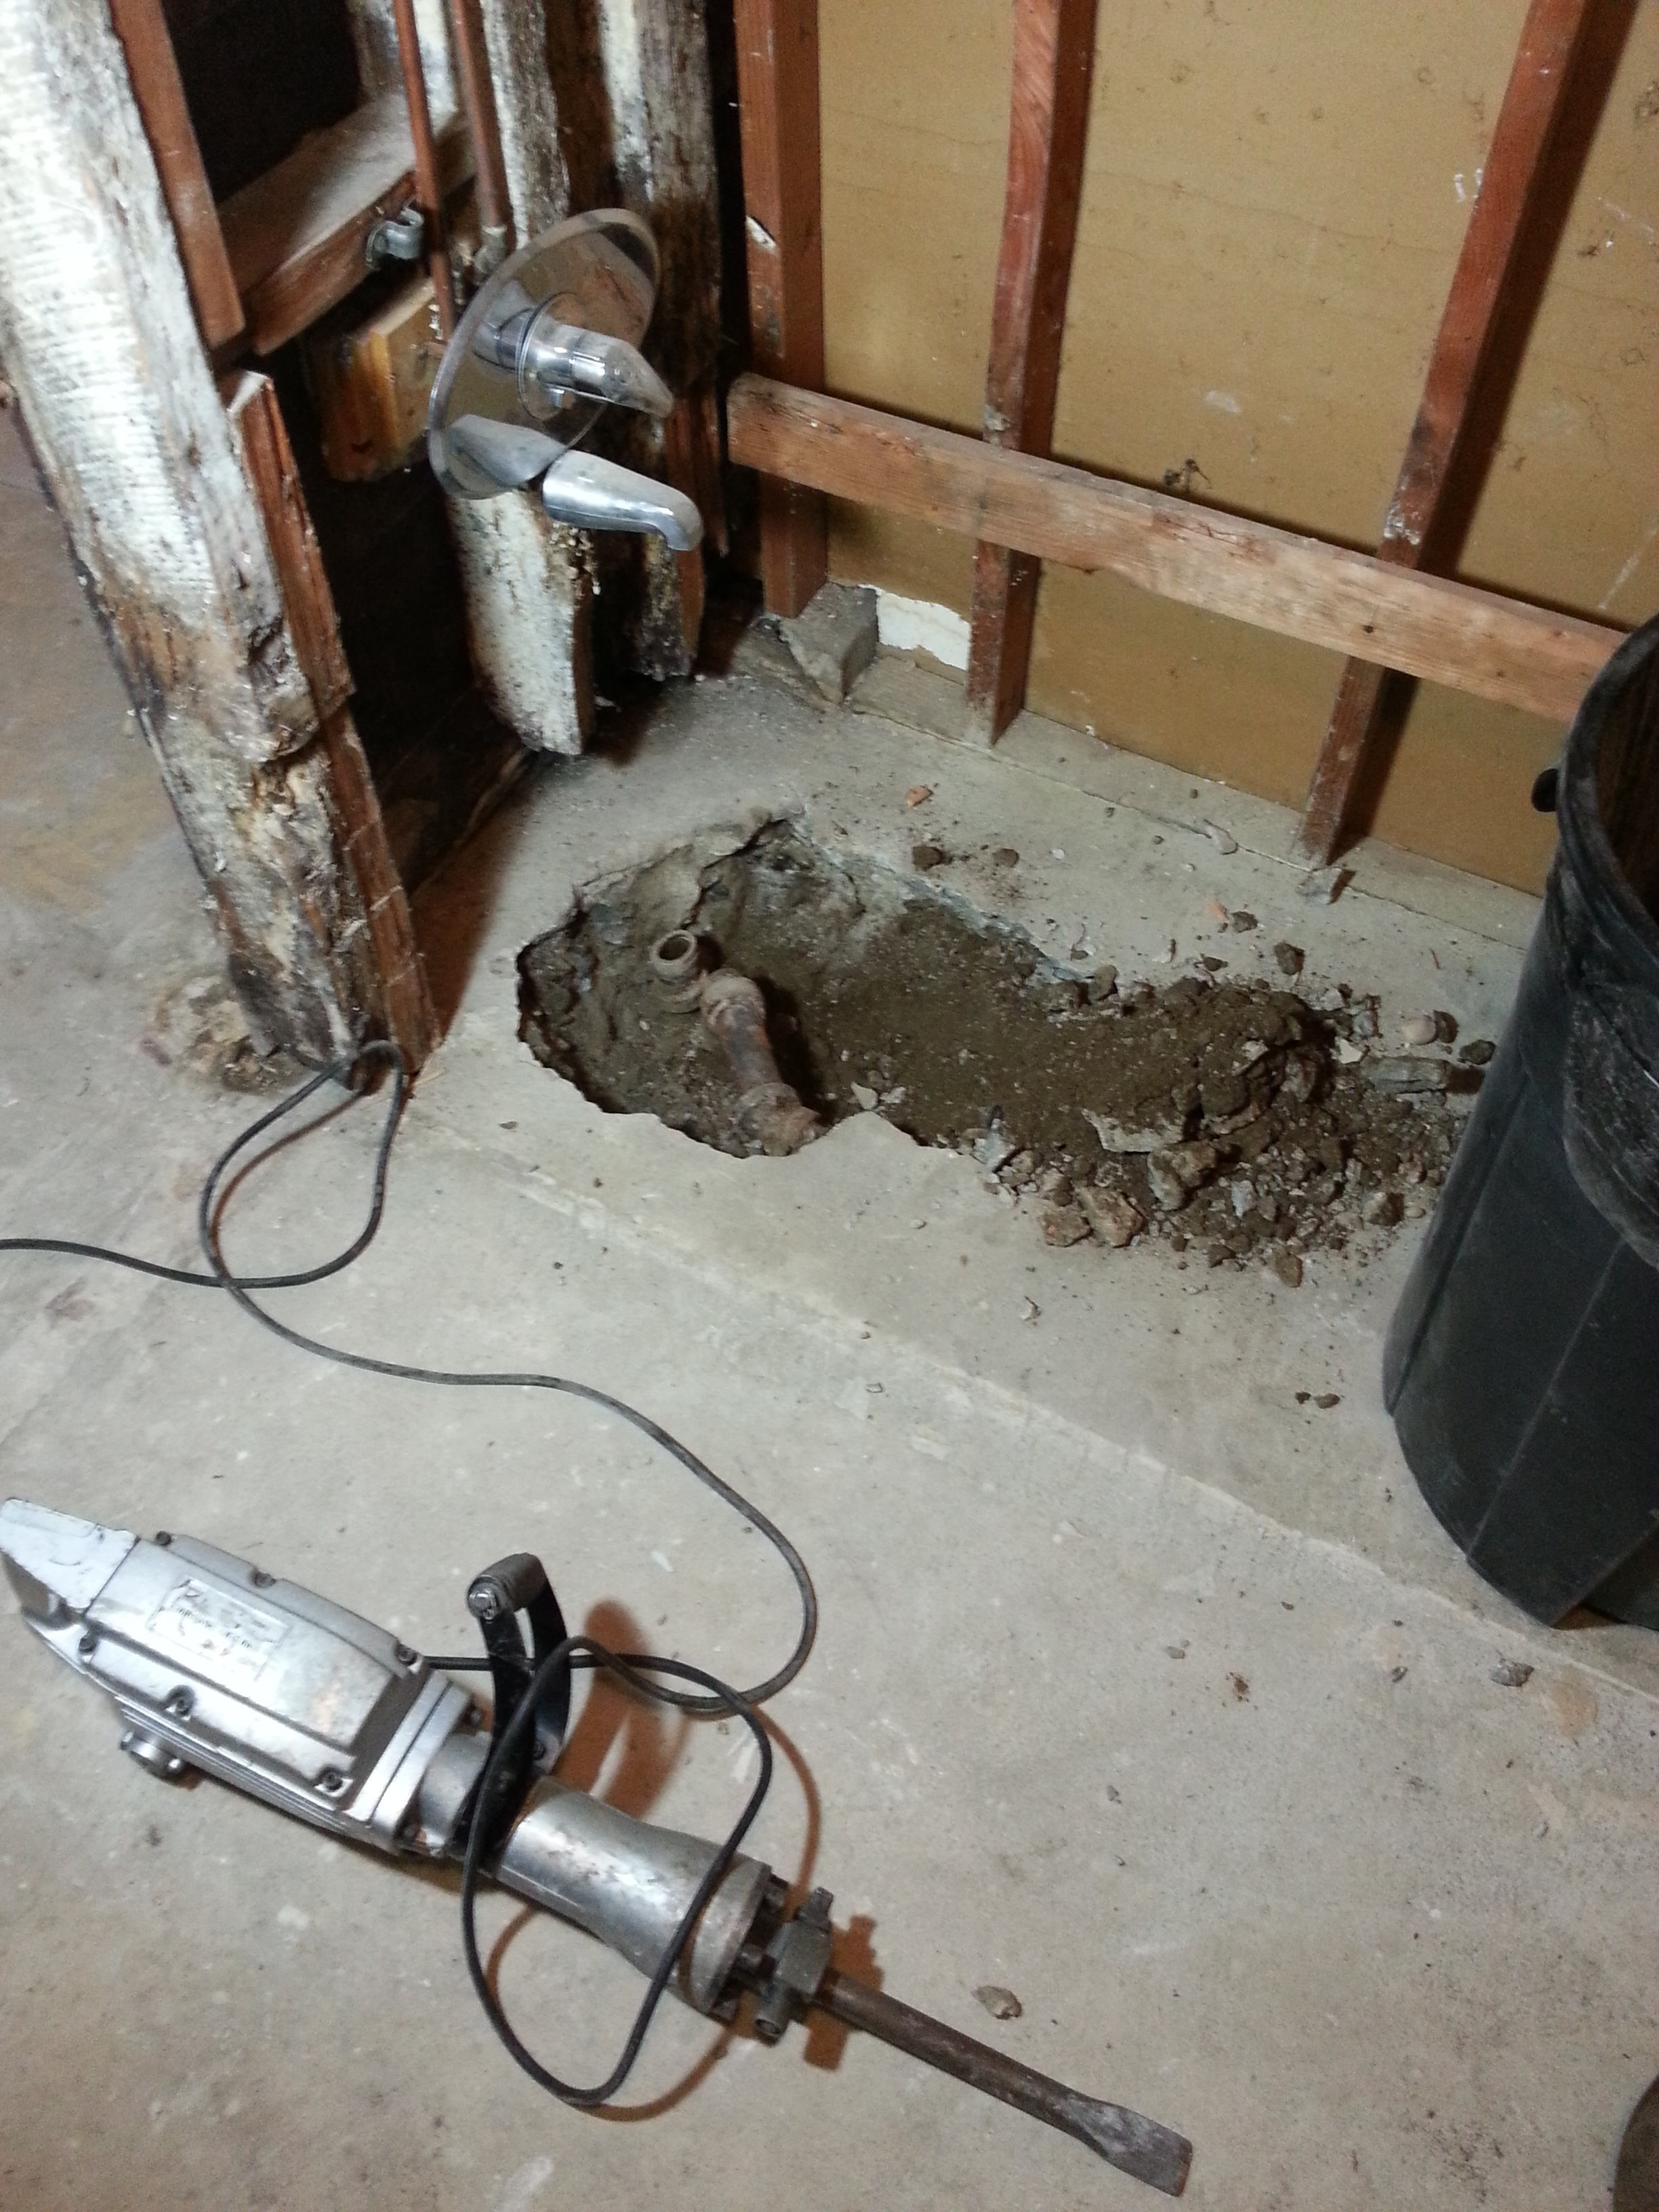
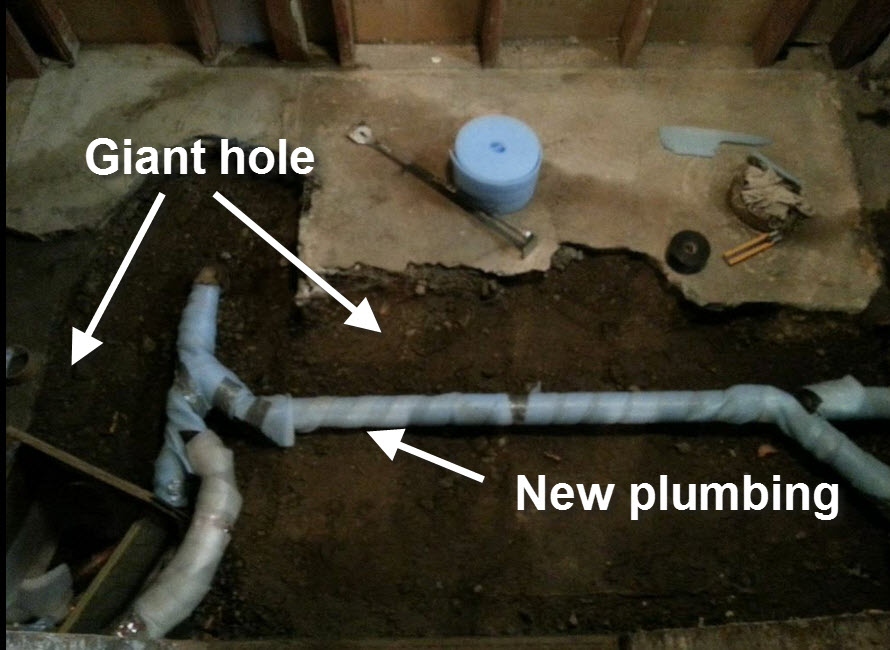
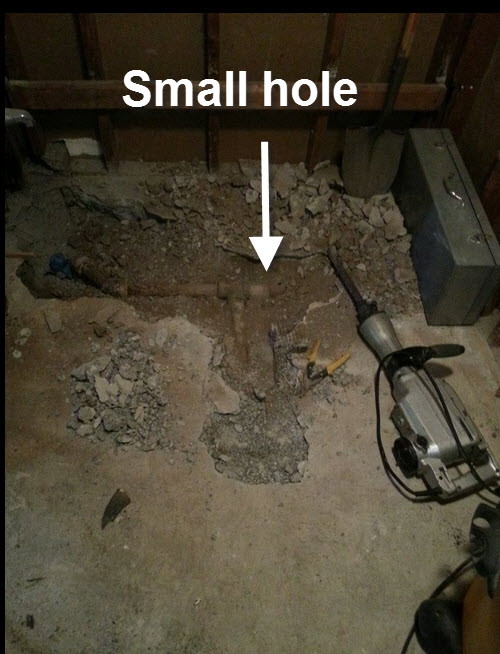
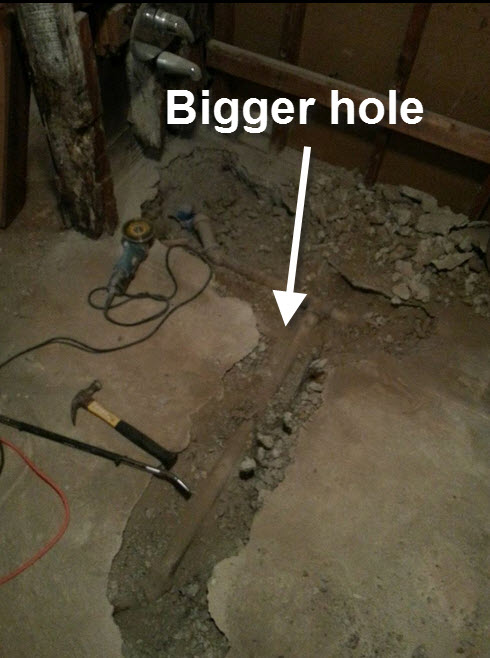
In order to install the vent I needed to jack hammer the concrete in the bathroom to expose the plumbing. What began as a little hole, slowly grew into a deep ravine.
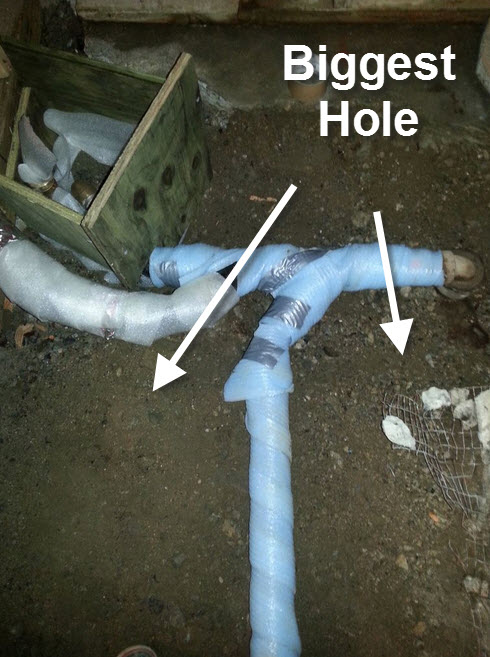
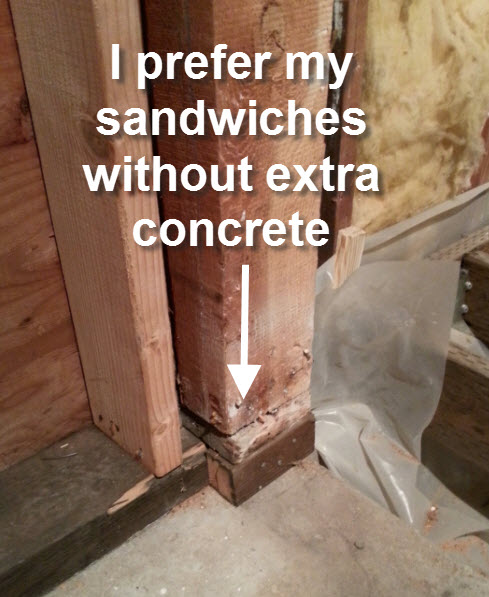
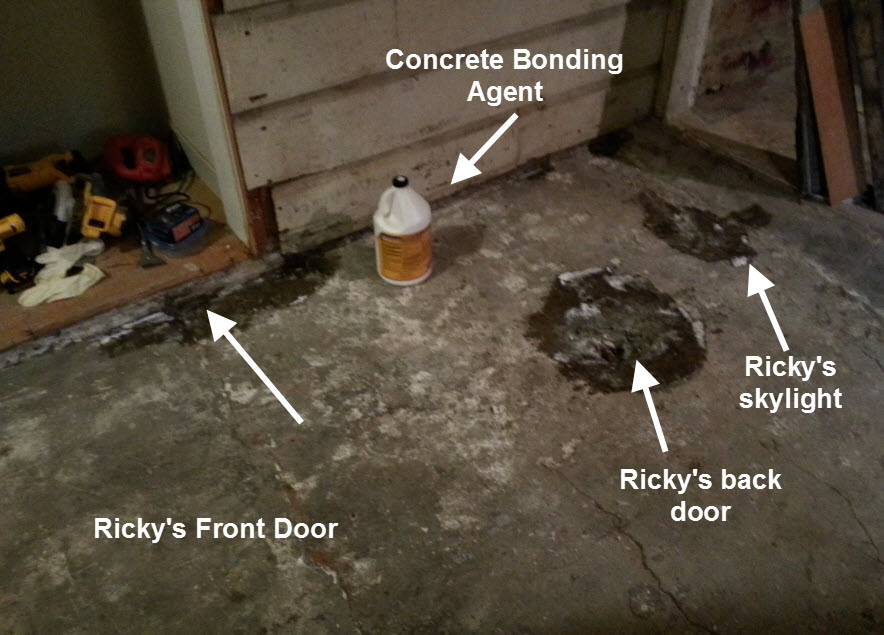
Finally, after opening up the entire floor and having a plumber come in to make the necessary changes, I was left with lovely new plumbing sitting inside a giant chasm. In order to build the subfloor in this room, I need to fill in this giant cavern with concrete.
Initially I though that working with concrete would be fun. In my mind I had visions of playing in the sandbox as a child. Enjoying the fresh spring air while meticulously building an elaborate fortified sand-castle. The acropolis would defend against invading forces by enlisting the help of transformers who wouldn’t cower, even when faced with enemy GI Joe’s flying through the air on My Little Pony Pegasus’ like a synchronized fighter squadron.

Unfortunately, the time sensitive nature of working with concrete did not lend itself to the unpredictable length of imaginary war.
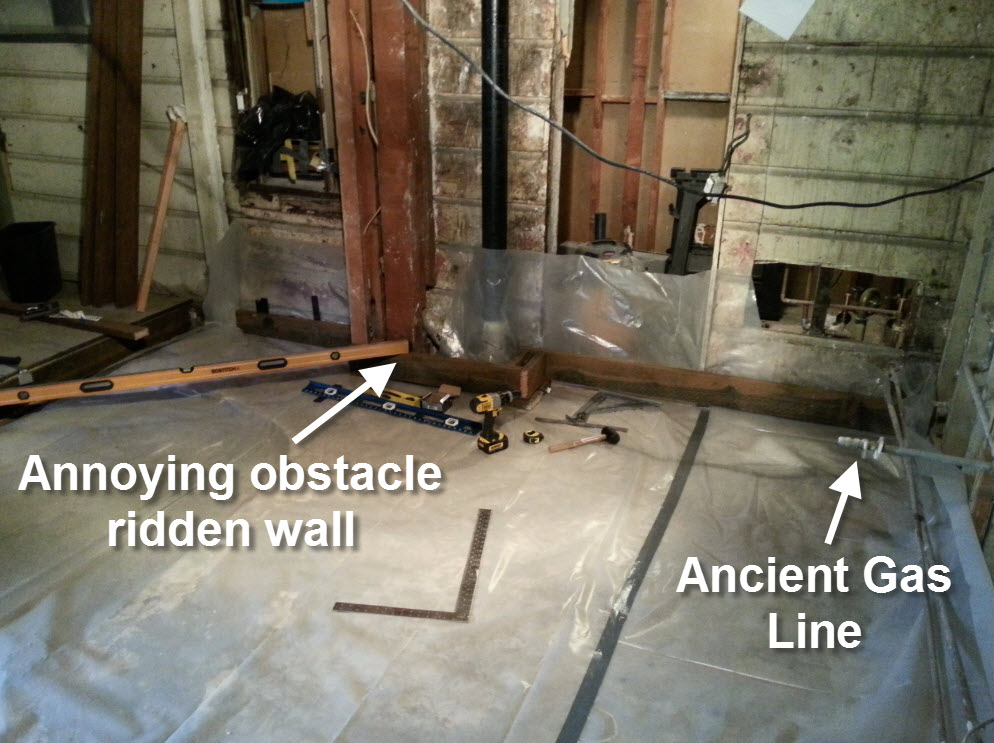
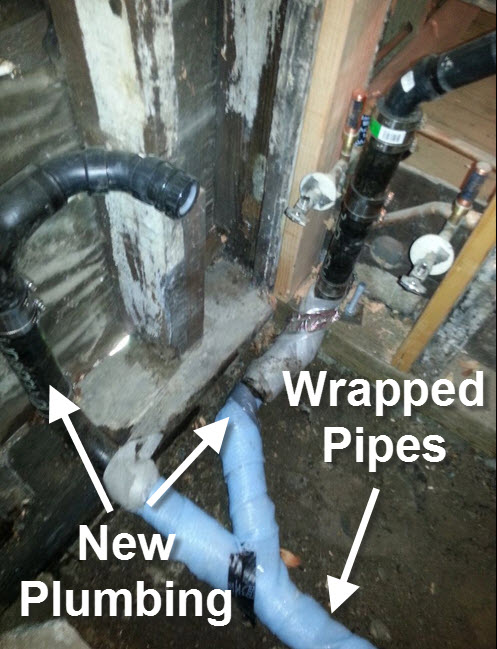
Before I could even get into pouring concrete, there were a few steps that needed to be completed. First, I had to wrap my new pipes in foam so when the concrete was finally poured and dried they would be protected. The idea behind this step is that if the concrete were to shift, which it has been known to do in earthquake country, the pipes would have a little wiggle room.
I also decided to pour a light layer of sand into the crevice and pound it down to make a somewhat firm base to hold the concrete. Finally, I applied some concrete primer to the walls of the gorge to help the new concrete stick.

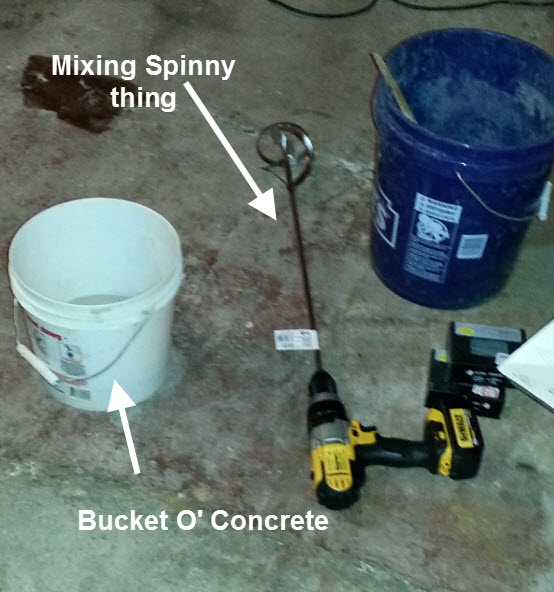
With that step complete, it was all about…you guessed it…material aquisition:
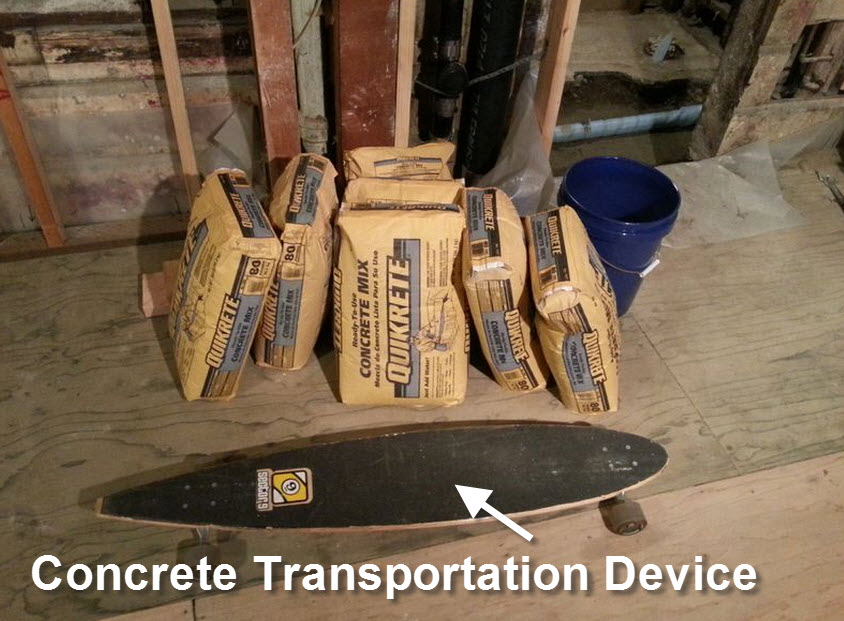
Now, in this picture you see 7 bags of concrete. In the end, I severely underestimated my concrete needs. After four visits to Lowes, I ended up purchasing 14 bags of concrete to fill my bathroom crater. At 80lbs each, by the time this job was completed I felt like my arms were about to fall off.
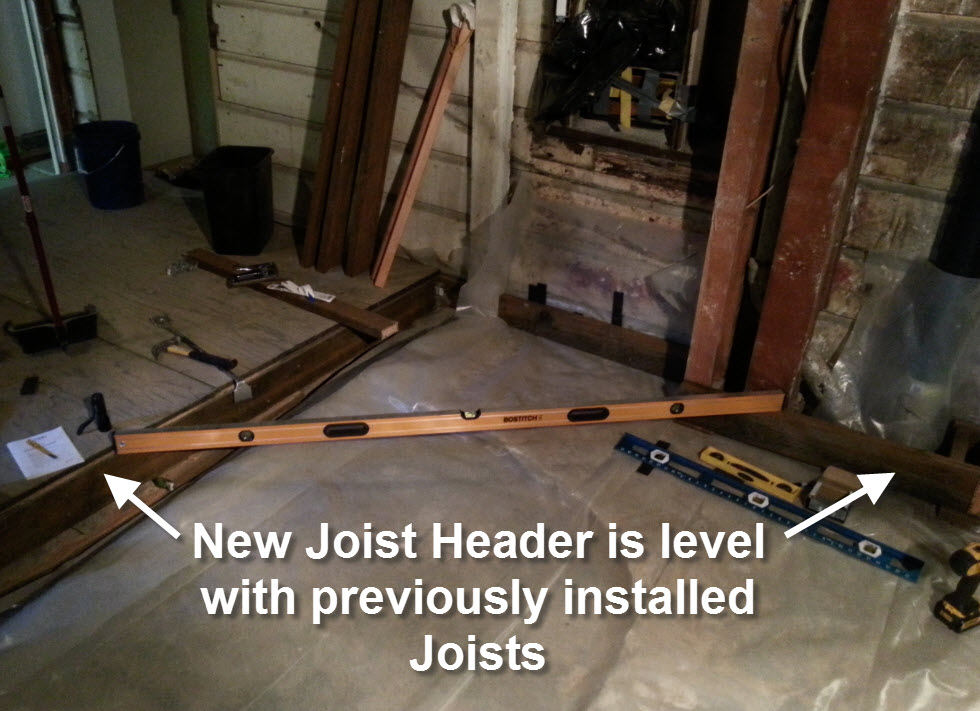
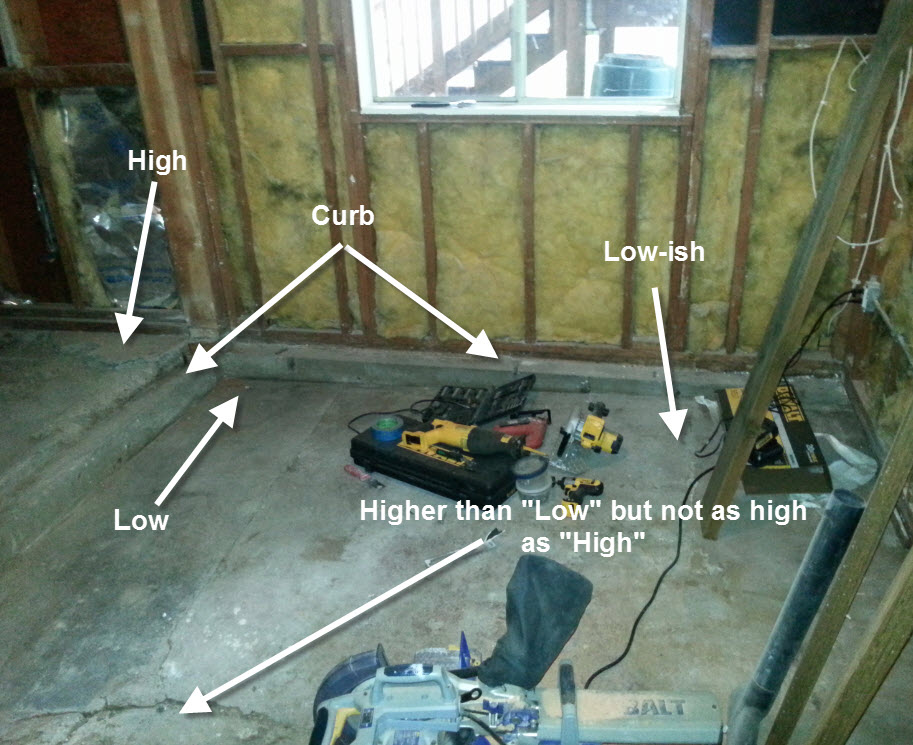
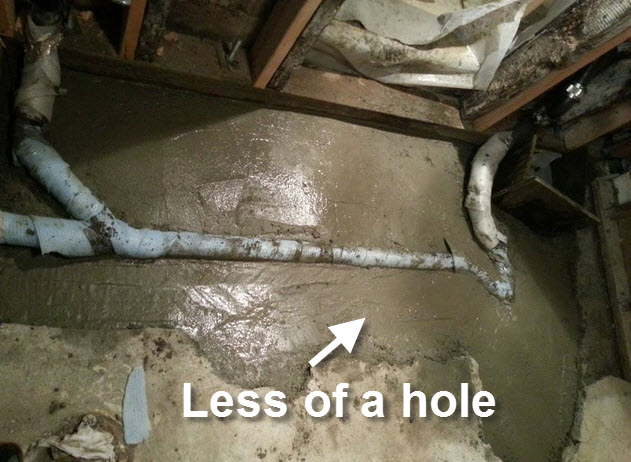
Finally, it was time to pour the concrete. I did this in two steps. The first step was mostly about filing up as much of the hole as possible. I was a lot less concerned about making things look neat & tidy during this initial concrete pour.
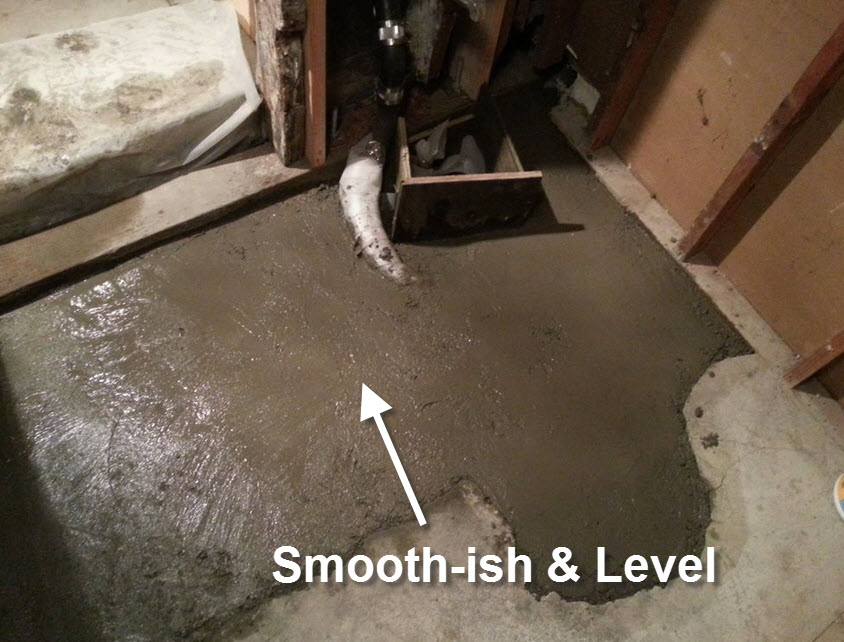
Once the first pour of concrete was dry I was able to start on the second layer. The goal with this second concrete pouring was to level out the floor and make the final product look smooth & tidy.
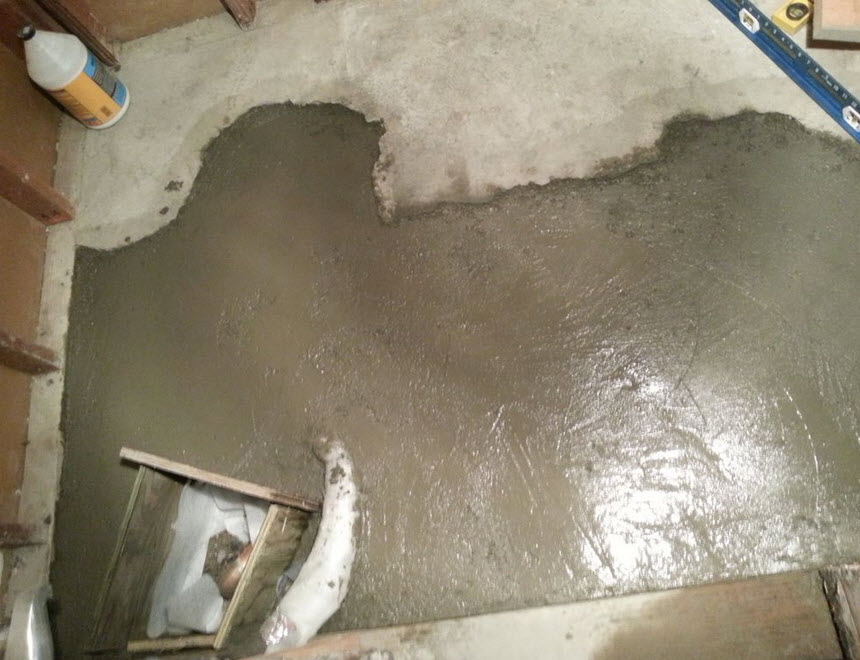
Finally after 4 days, 14 bags of concrete and 2 very sore arms, I was done pouring the concrete. Once this dries I can build the subfloor and we can get moving with making this bathroom the modern oasis that it is in my dreams.