Hi Everyone! Wow, it feels like it’s been months since I posted to Building With Beth! You see, renovating a home is not entirely unlike going to the gym. At first you’re all fired up and ready to prove your mastery of gravity against those weight machines. After working hard for a while, however, sometimes you simply hit a plateau, making it harder to keep up the routine.
In the case of my home renovation project, I can say that I literally hit a wall! Well, maybe “hit” is too strong a word. I sanded a wall, over & over & over! That’s right, it’s drywall time!
Not long after finishing up the process of spray foaming and insulating the walls, I had a friend of a friend come in and install the drywall. Now, I know what you’re thinking, “Beth, I thought this was a DIY’er blog, why didn’t you install the drywall yourself?” Well, blog reader, that’s a fair question. I will outline my thinking in the following list of mathematical equations:
- Me + Maneuvering Heavy Drywall Sheets = Trip To Emergency Room
- Me + Complicated Precision Drywall Cuts = Drywall With A Lot of Misplaced Holes
- Me + Balancing on Ladder + Overhead Installation of Drywall sheets = Trip To Emergency Room
- Me + Full Time Job + Large Drywall Project = Many Many Months Without Drywall
In the end, the decision was made mostly based on my desire to have a nice looking space before 2014. They guys came in and knocked out the entire drywall installation in a single day! Watching them work was like watching a well-oiled machine. Together, these three guys effortlessly maneuvered those sheets of drywall into place like it was second nature. In the end the transformation was pretty amazing:


Of course, after their work was done my work began. Picture Ralph Macchio in the Karate Kid as a 6’2” tall female DIY’er sanding a wall rather than waxing a car.
The drywall finishing process is the main reason why you haven’t seen a post from me in awhile. What took three guys one day to install, took me nearly two months to finish. With that said, the feeling of pure satisfaction when it was all done made the whole process feel worth it! AND, now the walls are ready for primer!
Walls WIth Primer


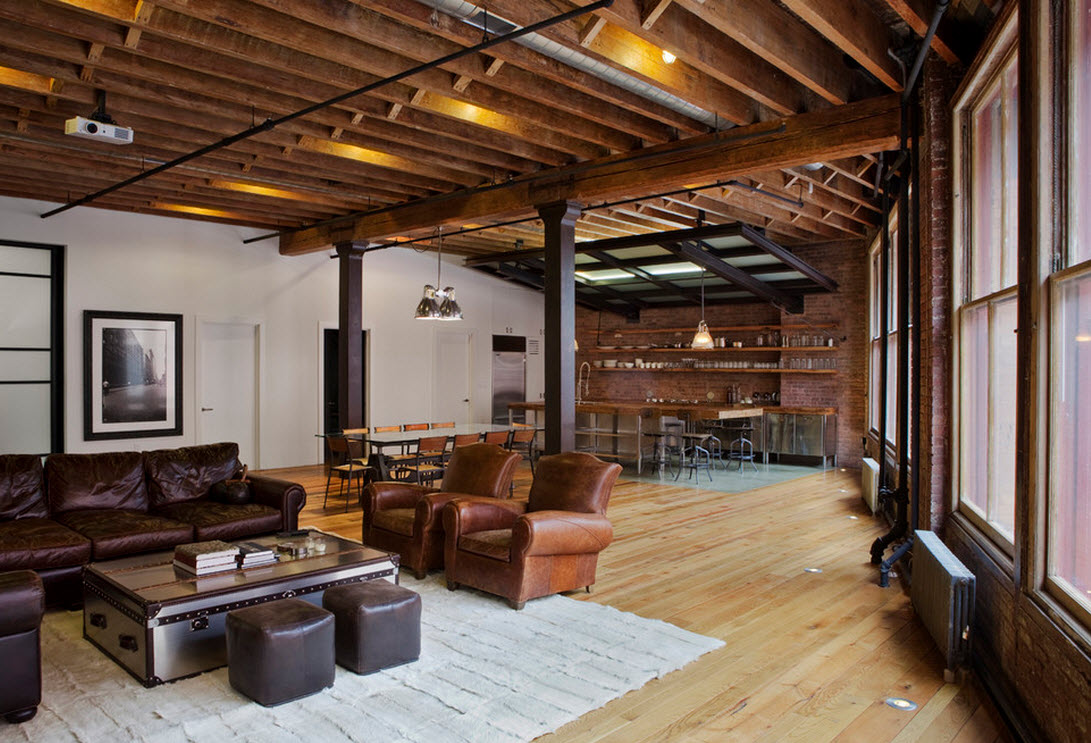
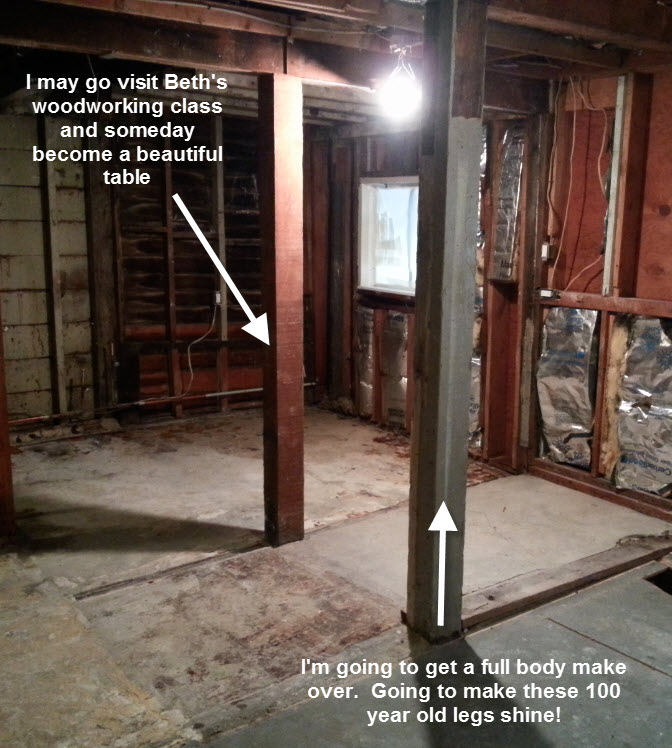
Now, with the room all ready for paint, it is time to focus my attention on the various wooden accents in the room.
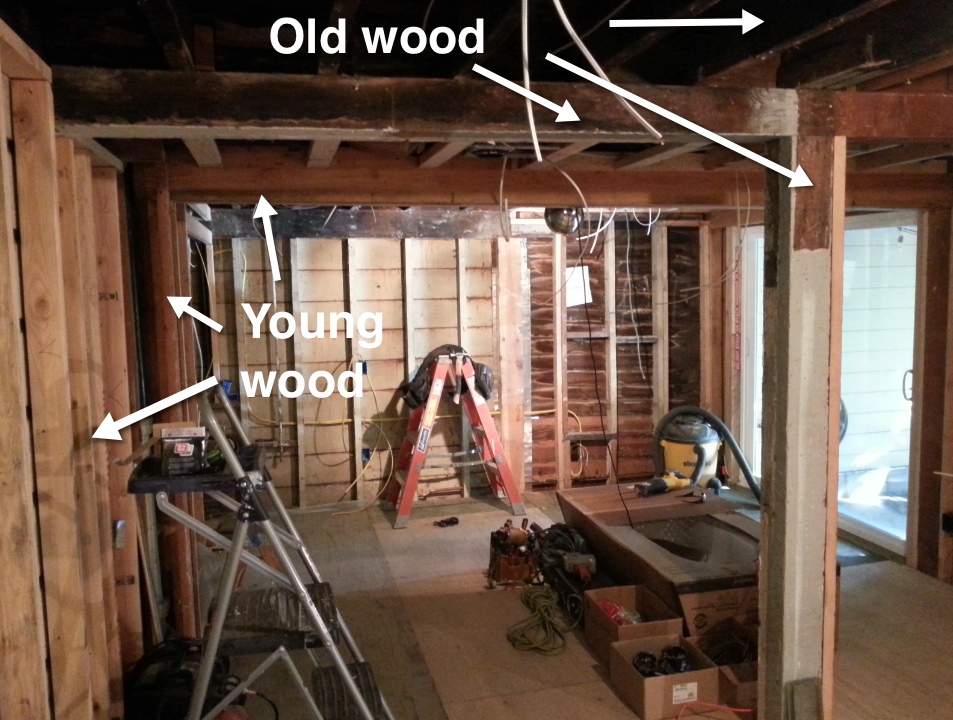
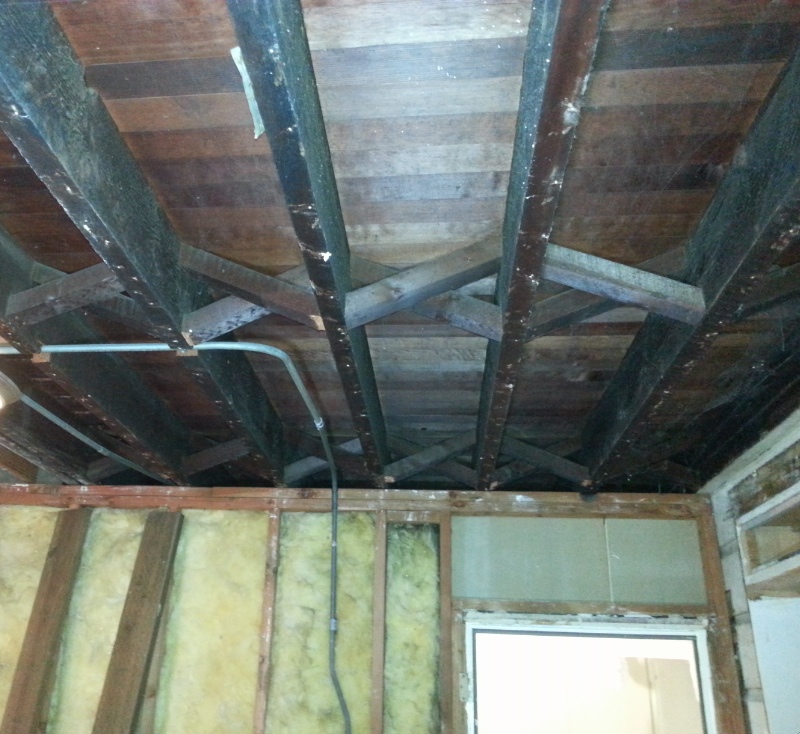
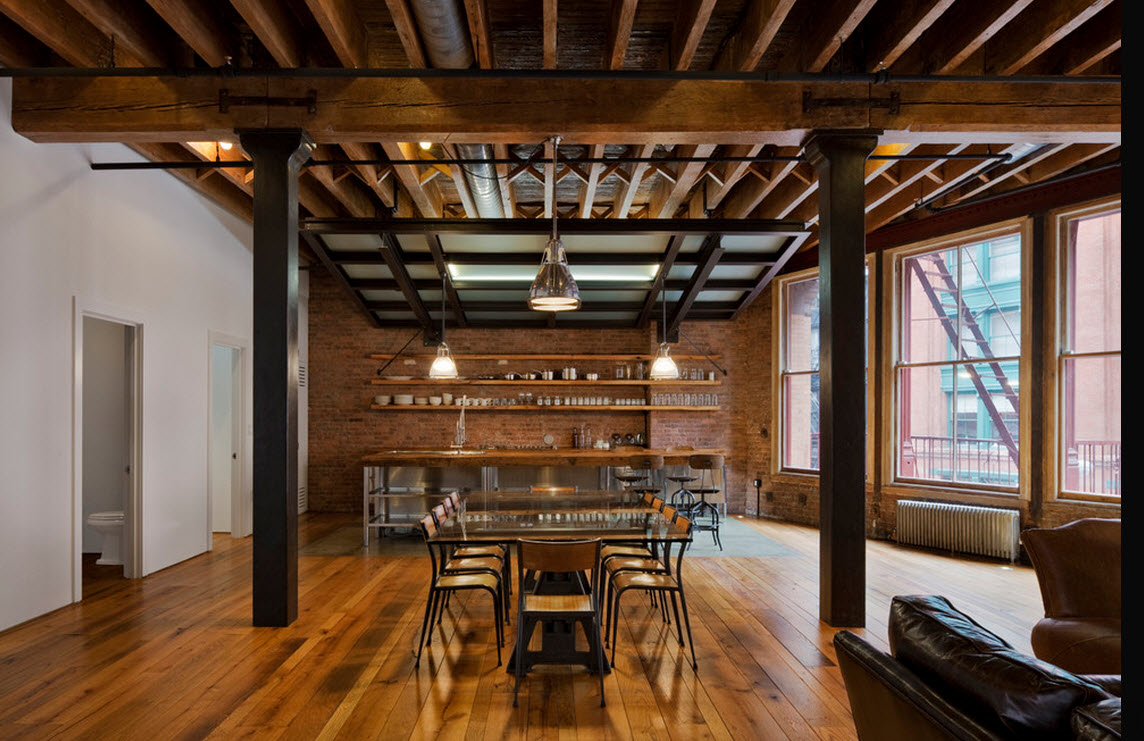
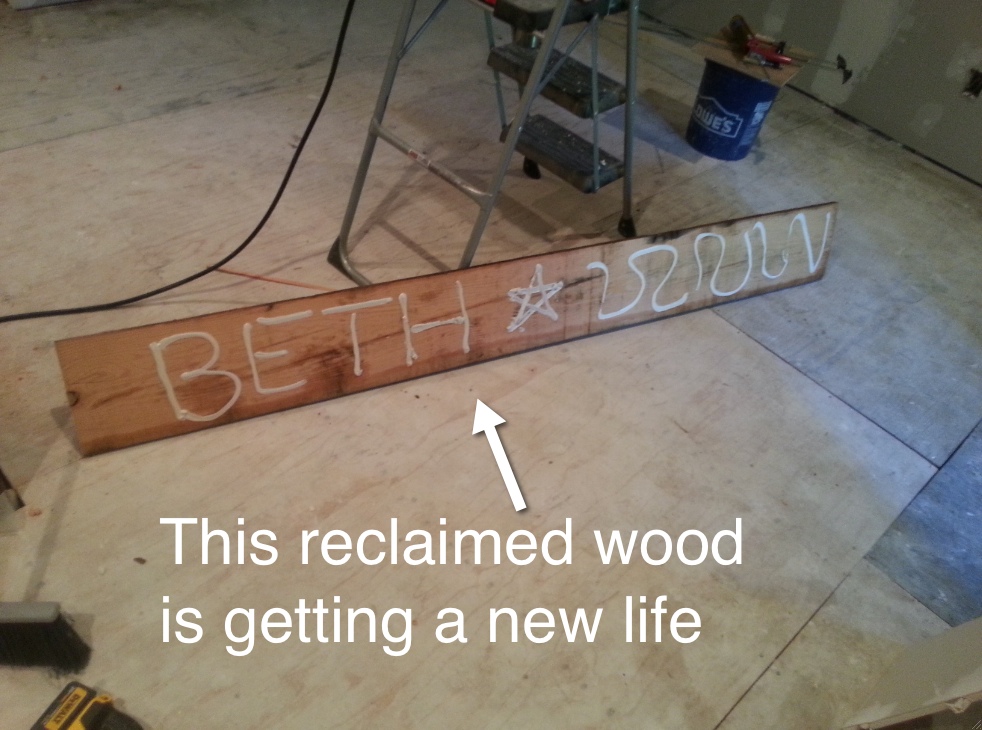
A while back I tested the paint on the column and beam that is the center of the room. Unfortunately, it came back positing for lead. Since I want to keep the rustic feel of the exposed, well-aged wood, I decided to wrap the column & beam in some reclaimed barn wood I got at the local lumber yard. I like to think of it as putting a nice warm coat on the old bones of this house. Once the reclaimed wood was put in place, I stained the lighter wood to match the dark color of the older wood in the room.
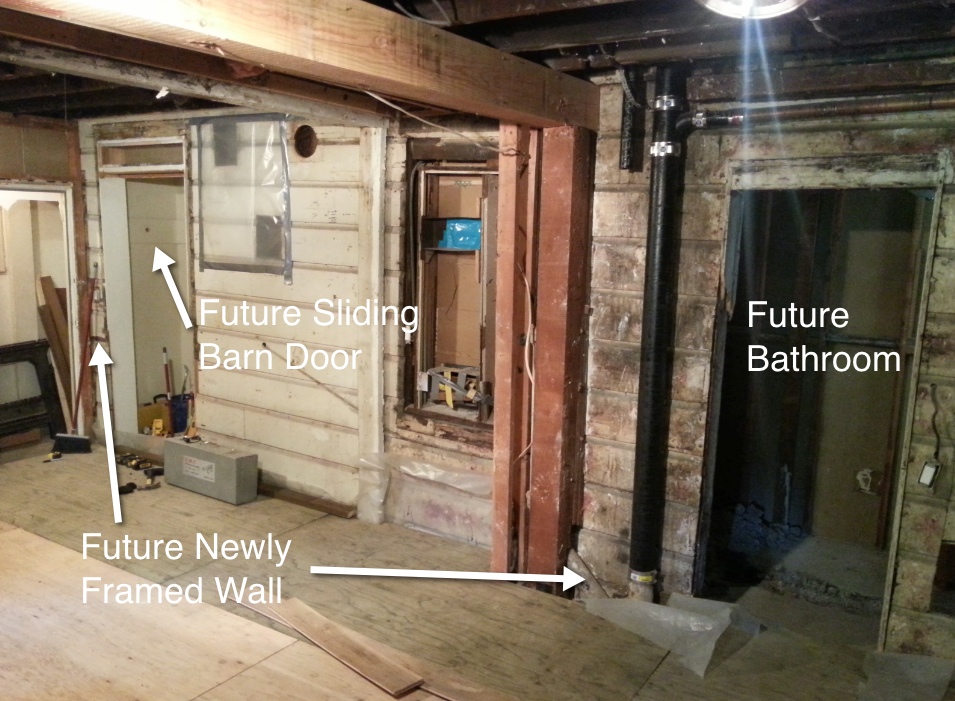
Before Pictures

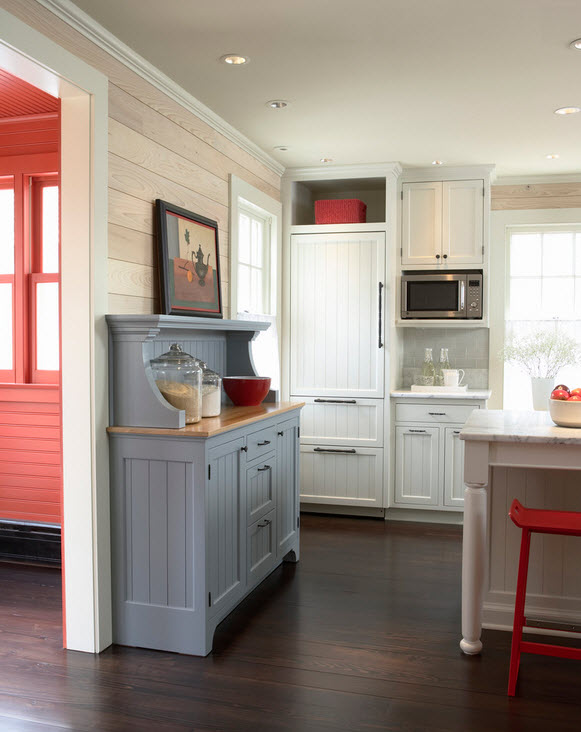
After Pictures

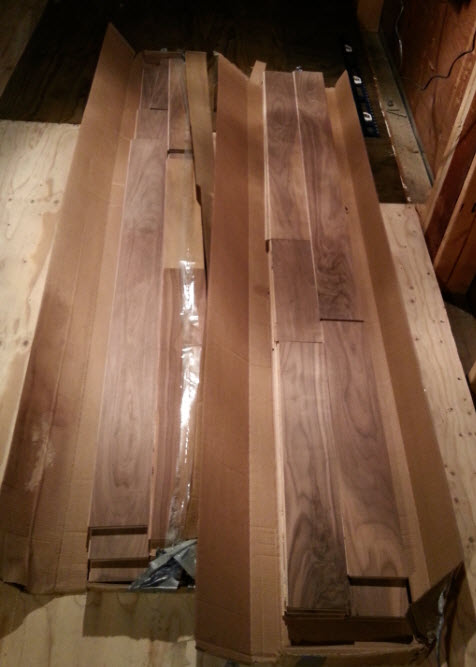
Now, you might recall in my Whats Next post awhile back I mentioned picking up a couple of boxes of beautiful walnut flooring at the local salvage yard.

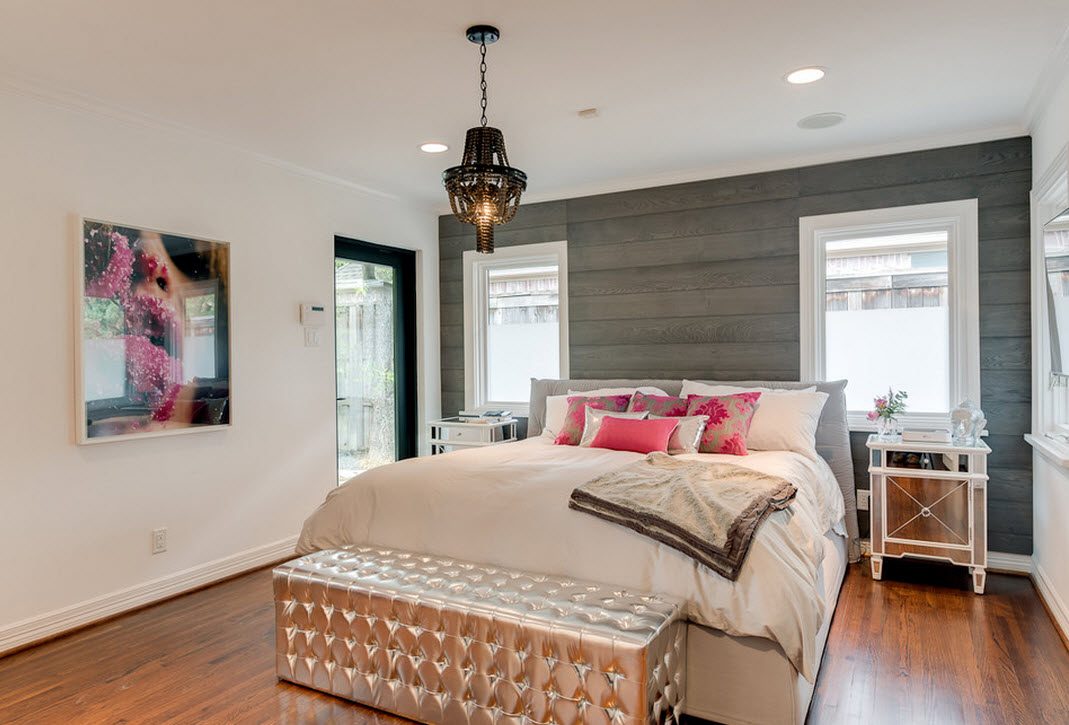
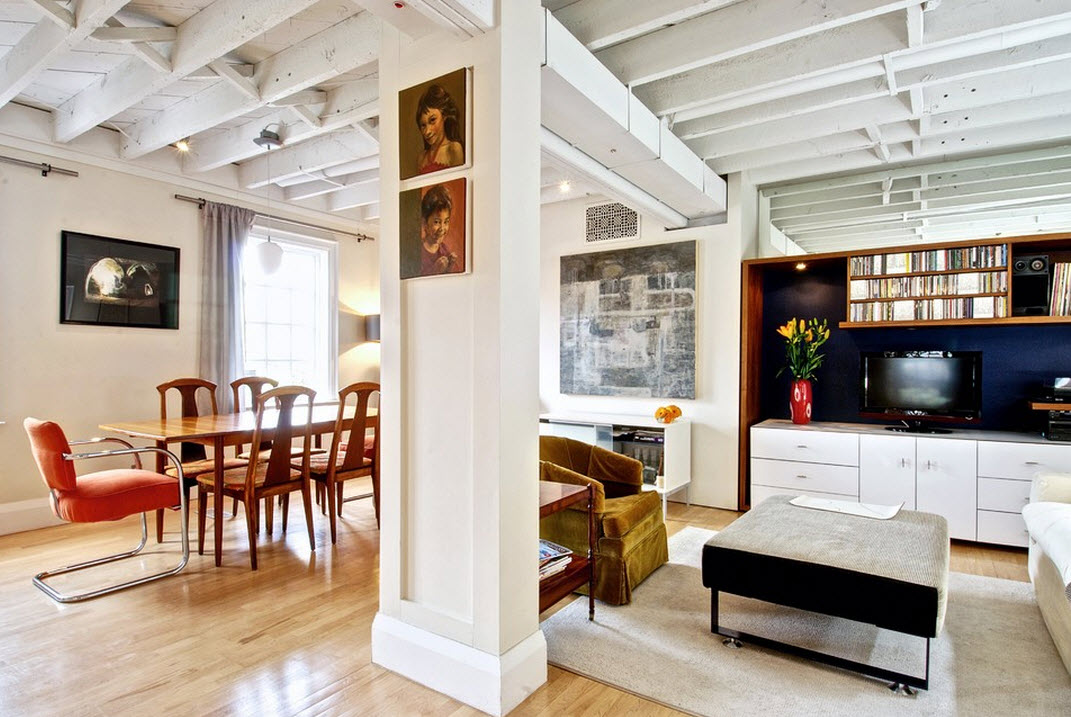
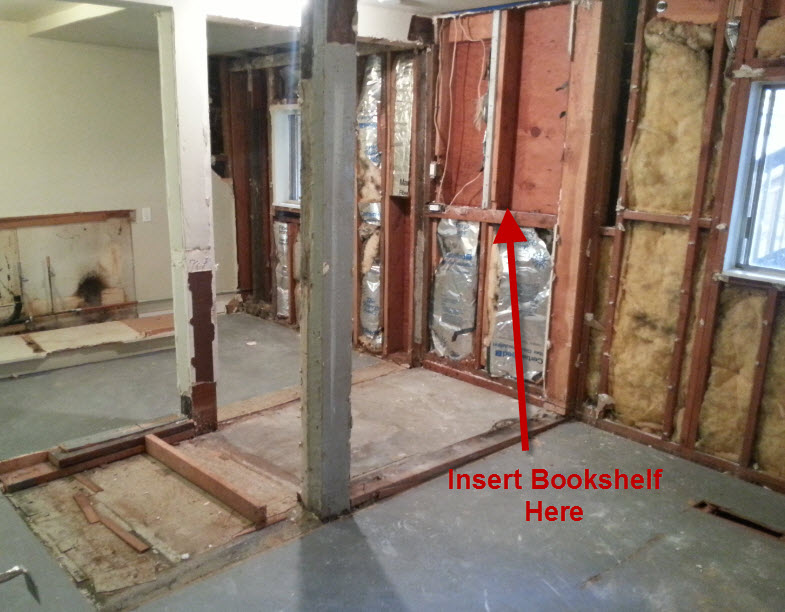
Now that the drywall is up it’s time to make it look pretty. I didn’t have much walnut to work with, but I had enough for an accent wall behind where we will be mounting the television.

Using my trusty finishing nailer and some construction adhesive I staggered the boards down the wall.


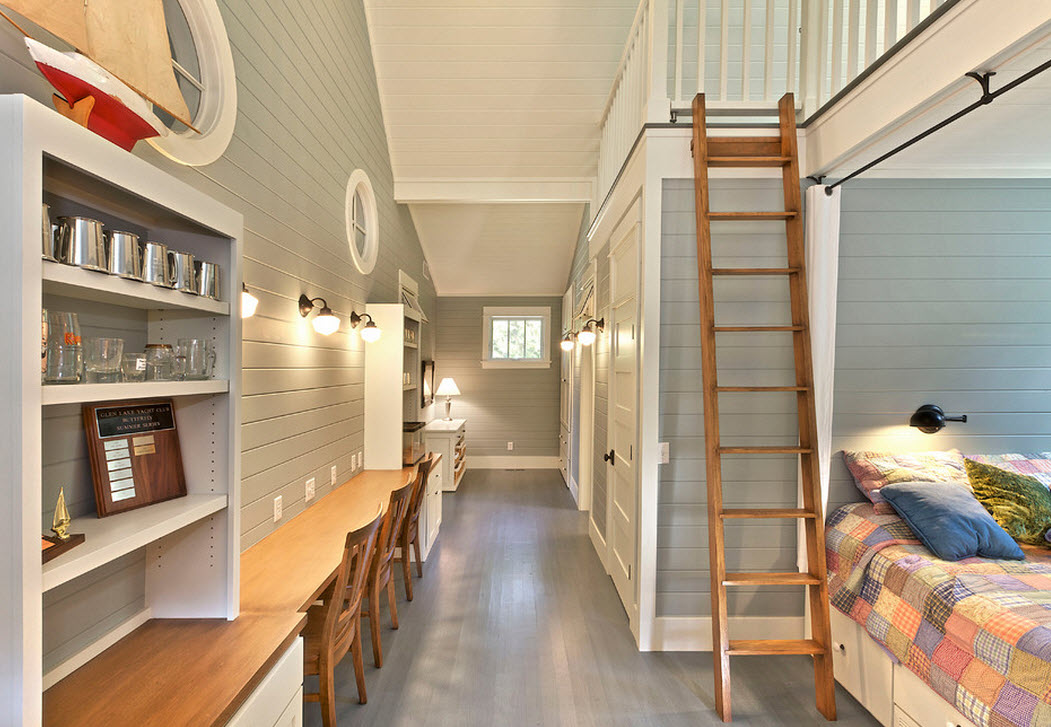
Between the drywall, the walnut accent wall and the beams wrapped in reclaimed wood, this former barn-like space is starting to really look like a warm and cozy room!
After Pictures


I still need to sand the walnut so it’s smooth and cover it in a protective finish, but this accent wall is already classing things up!
Phew! I covered a lot in this post, but stay tuned for more on finishing this In Law unit! Things are coming together.