The Throne Room
Last time I posted I showed you the brand new tile surrounding the bathroom tub!
Let’s take another look…

It makes me smile every time I see it!
Of course, while everything is coming together, this puzzle has a few more pieces. Take for instance the floor.
One major lesson I learned while tiling the tub surround was that the smaller the tile, the longer and more tedious the project is going to be. With this newfound knowledge at my finger tips, I decided to go the opposite direction with the floor tile. No more pocket-sized tile. This time, I went unwieldy, heavy and long!

There are benefits and drawbacks to each type of tile. Subway tile is easy to maneuver, can be held in one hand and takes about 30 seconds to cut. With that said, there were about 1000 cuts that needed to be made, and each subway tile needed to be level (which took a tremendous amount of precision and focus)
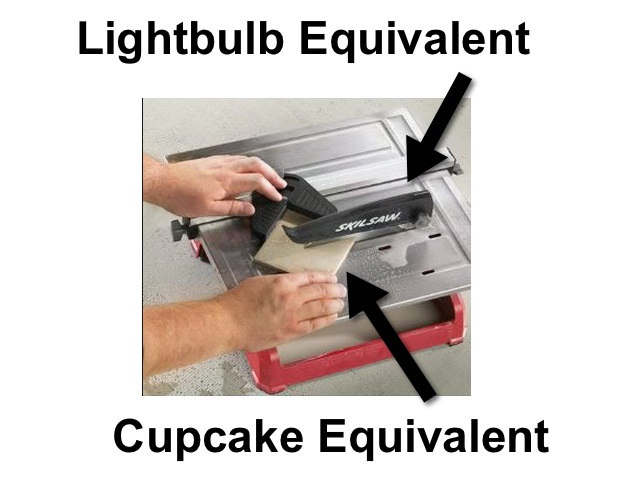
In the case of the floor tile, it was seriously heavy and unwieldy, but on the plus side I only had to make a few cuts. This was particularly good given that I needed to maneuver these monoliths through the Easy Bake Oven of wet saws. For those of you unfamiliar with the magic of baking deserts under a lightbulb, let me illuminate you on the wonder that is the Easy Bake Oven…
Easy Bake Oven
Now, imagine feeding a one ton piece of tile that is as long as a small tree into that flimsy plastic contraption and you’ll understand the risk I was taking.
I pre-cut all of the planks of floor tile so I could lay them all down in fell one swoop. I also ‘dry fit’ the tile prior to mixing the mortar to make sure everything fit together well.
The process of laying the floor tile was essentially the same as the wall tile, but I didn’t need to constantly check that the tiles were level. Everything ended up going down really quickly.


Once the mortar dried it was time for the grout. Just as I did with the wall of tile, I saved some of the wet grout to do some touching up after the first layer dried (about 20 minutes later).


Now, you might think that this was enough for one blog post, but no! After all, what is a throne room without a throne? While new tile is great and all, the truly under appreciated star of the bathroom is the toilet.
Once the floor tile was ready to be trampled all over, I wasted no time having my plumber come out and finish installing the shower head, nozzle, drain, and yes…the toilet.


The bathroom is almost done. I still need a vanity and a shower door (along with a bit of molding), but now its time to shift my focus back into the main room. Stay tuned for my upcoming post on flooring!

I find myself saying this about most posts, but this looks even more amazingin person!!!
Fantastic!!!
gorgeous!! well done. I didn’t even know one could buy tile that looked like hardwood flooring.
Beth, you continue to make remarkable progress towards a fantastic downstairs. Expert work with excellent taste!
Terry
Wow!!! Incredible job, Beth! I LOVE the soft green tiles and new floor. What a fantastic job you’ve done!!