I’ve come to the conclusion that renovating a space is not entirely unlike creating a Frankensteinian monster. Don’t get me wrong, I don’t expect our In Law unit to terrorize the village locals; nor do I expect it to require a jolt of lightening before I can call this project complete. With that said, there are some similarities that should not go unappreciated.
If you think of renovating as being a series of phases, we begin with the demolition phase. From a Frankenstein standpoint, this might include digging up bodies and harvesting the good parts and chucking the bad parts. “Oh..that legs is missing a foot, let’s go ahead and scratch that. Onto the next body.” From a building standpoint, you open up the walls and identify the rotten wood, or broken pipes. Then you try to identify the parts of the space you plan on keeping.

Then you’re onto phase two, “repair.” Now if I was a mad scientist, this is when I’d start opening things up and shoving things into place. A kidney here, a femur there, etc. As more of a mad-DIY’er than a mad-scientist, in this phase I prefer to put a floor in here and a wall in there.

Now, we’re onto the last phase, the “finishing” phase. This would be when I (the mad scientist side of me) might stitch up the holes, put on the little neck bolts, hook my beast up to a lightning pole and hope for the best. This would understandably be the most anxiety producing phase of the project. Questions, that I might not want to know the answer to would go flying through my head, such as… “Will my monster eat children? Will he chase screaming farmers off their land making it that much harder to find organic vegetables in the village?”
Now, as a DIY’er, this is the phase that has the highest level of instant gratification. This is when the work space magically transforms and reflects its own personality and character (more like a butterfly than a crazed zombie beast).

This, my DIY following friends, is the phase I’m after!! This is the prize I have my eye on!
The “Finishing” phase is right around the corner! I am officially in the final throes of the “Repair” phase and after a few stitches supports here and a new kidney electrical outlet there, I’ll finally get to move onto the finishing phase! (and don’t think I won’t yell “IT’S ALIVE!” when this is all over).
Here’s the list of everything that needs to be done before I can put up drywall.
- Raise the closet floor
- Add support where the wall mounted TV will be installed
- Add support where the sliding door tracks will be installed
- Stain the joists
- Insulate the walls
- Install the tub
- Add electrical outlet in the kitchen
So far I’ve knocked 4 items off my list. Here’s the summary:
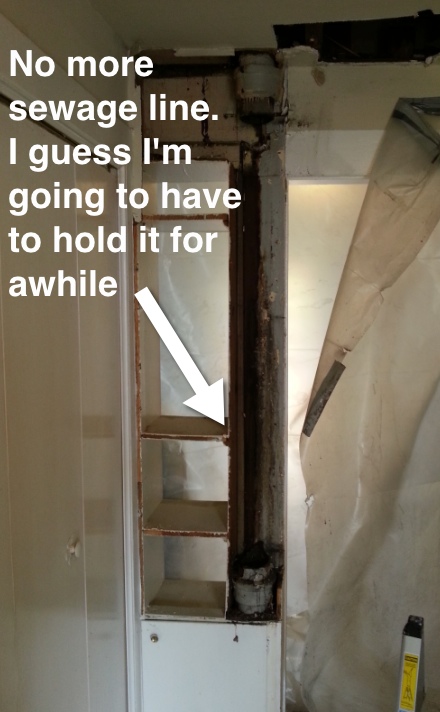
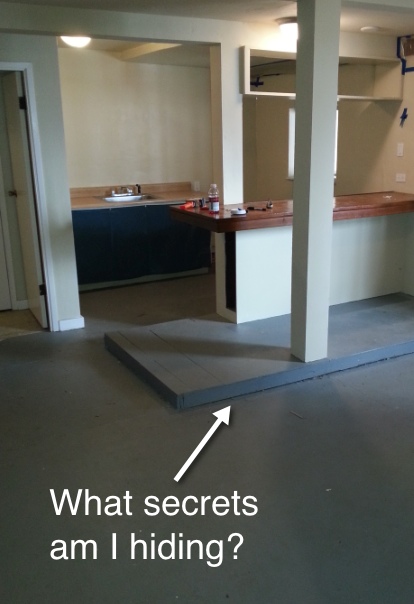
The Closet Floor:
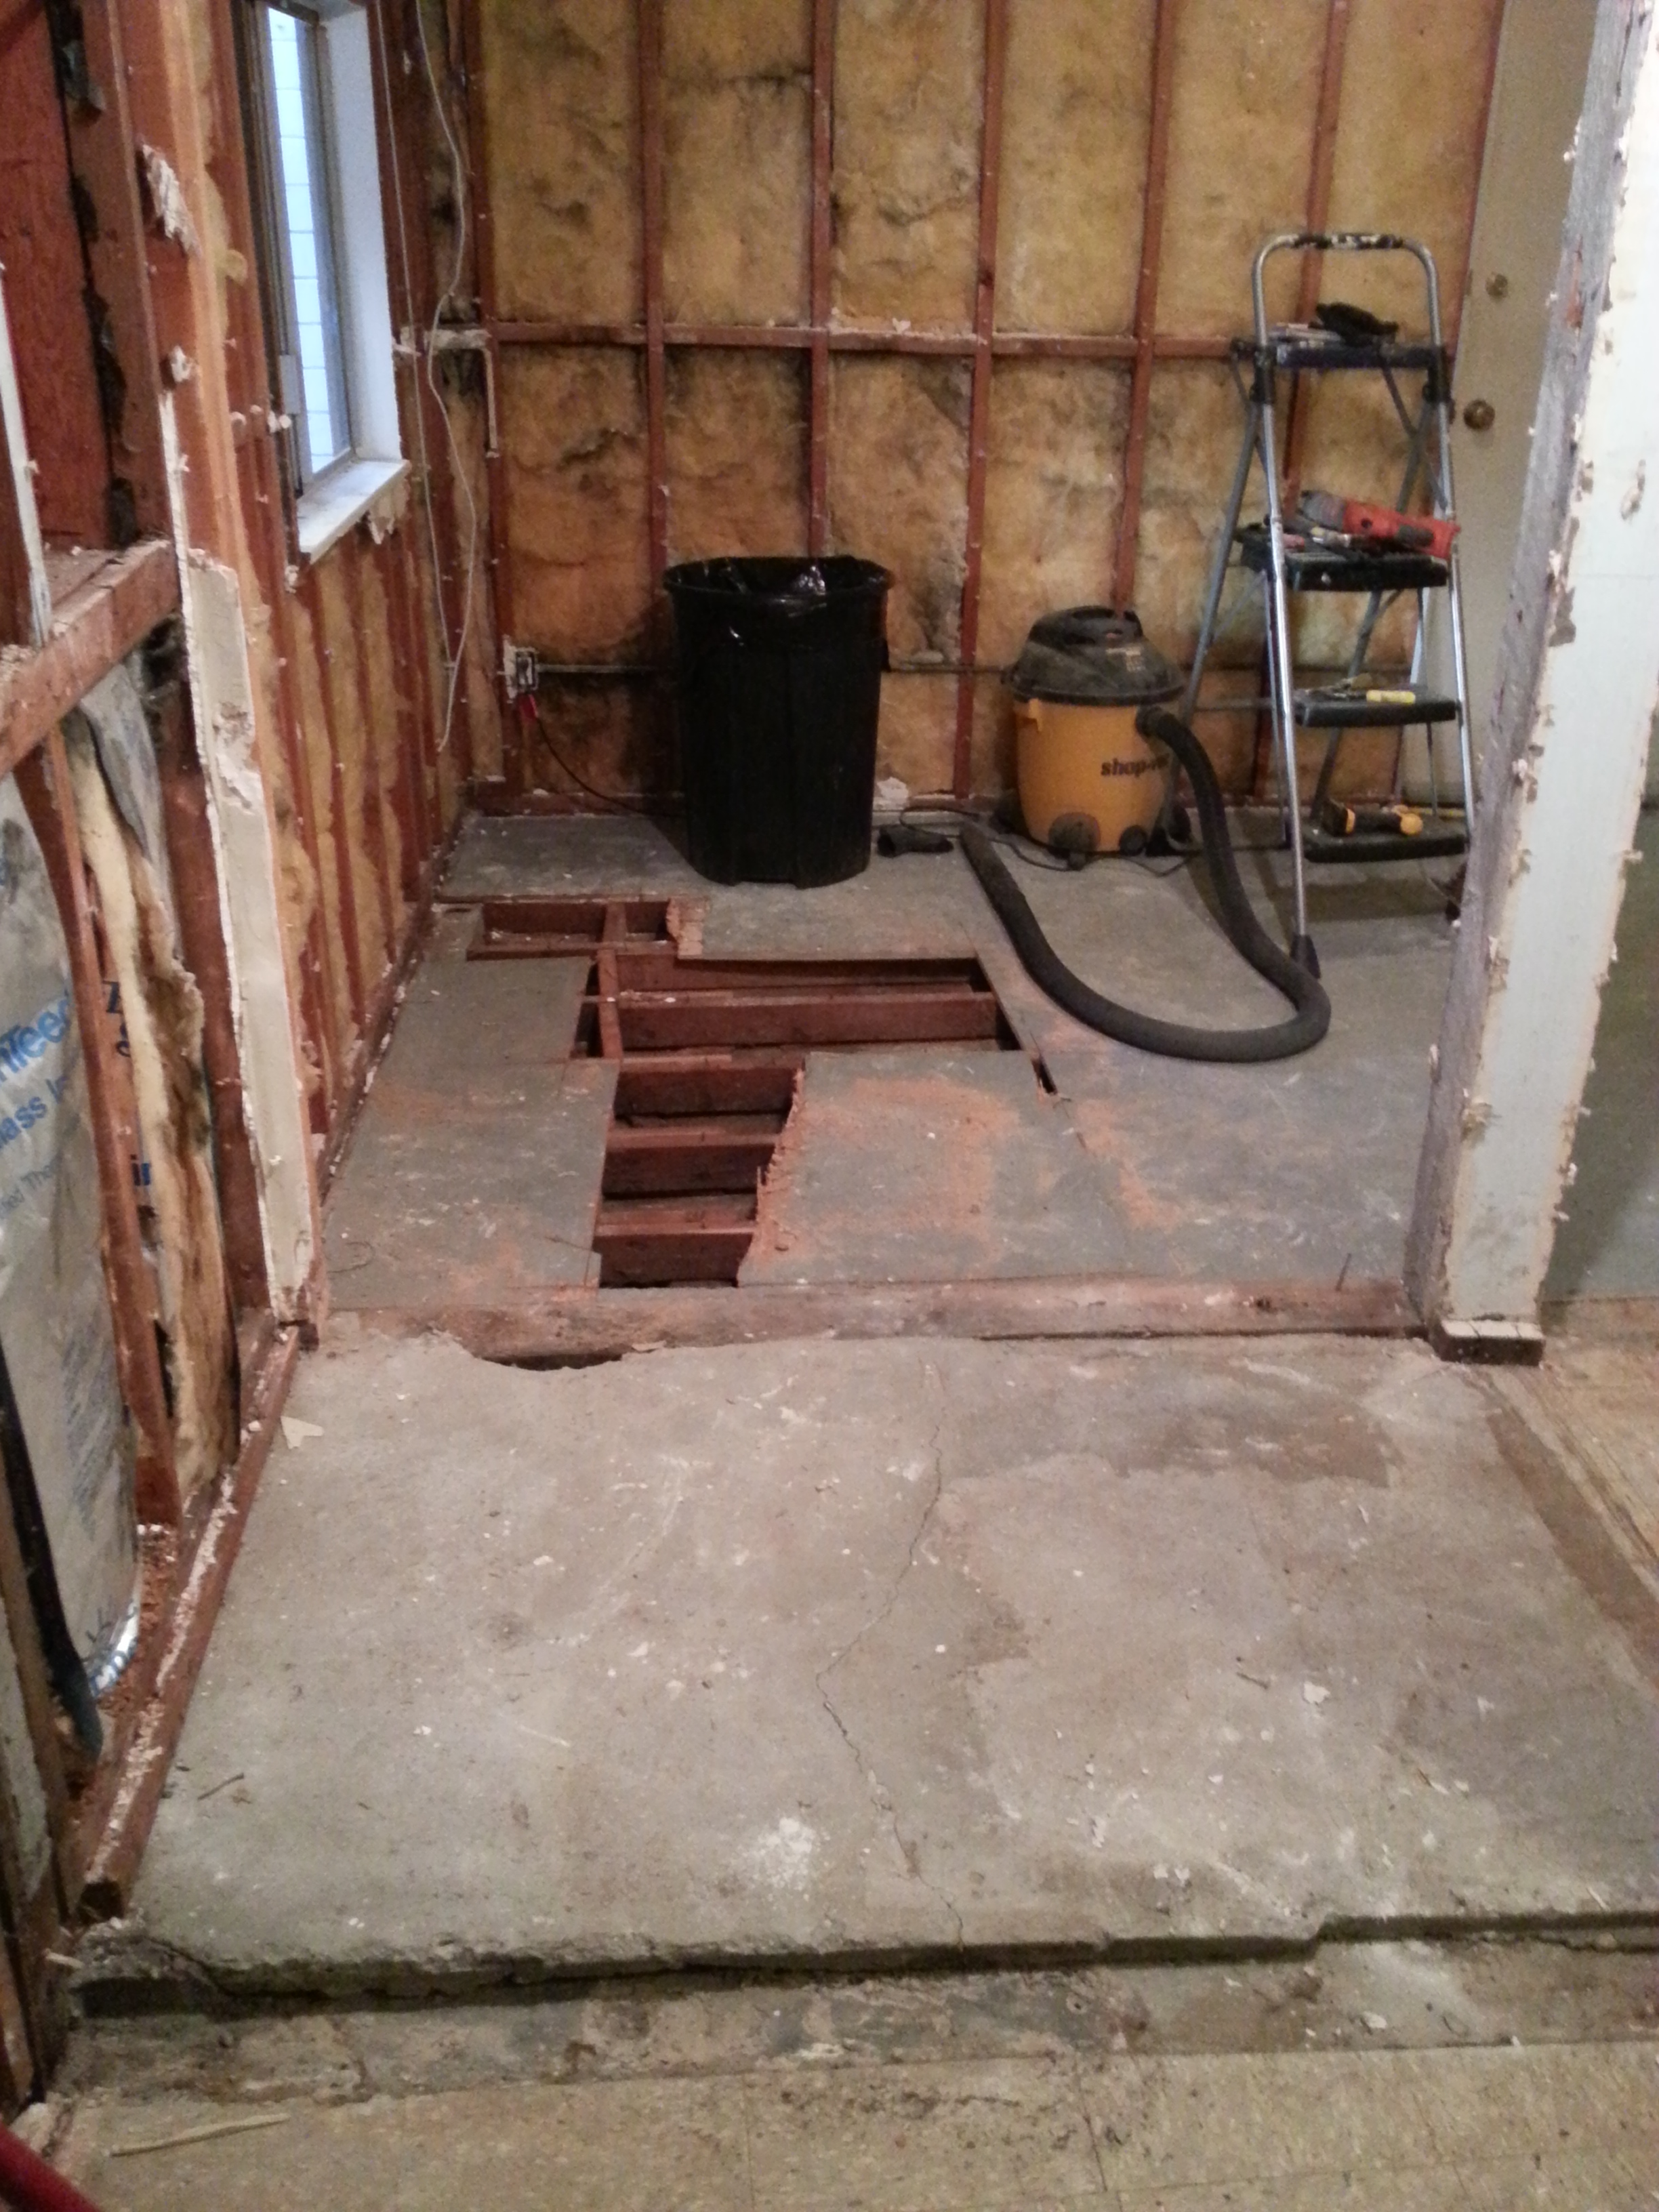
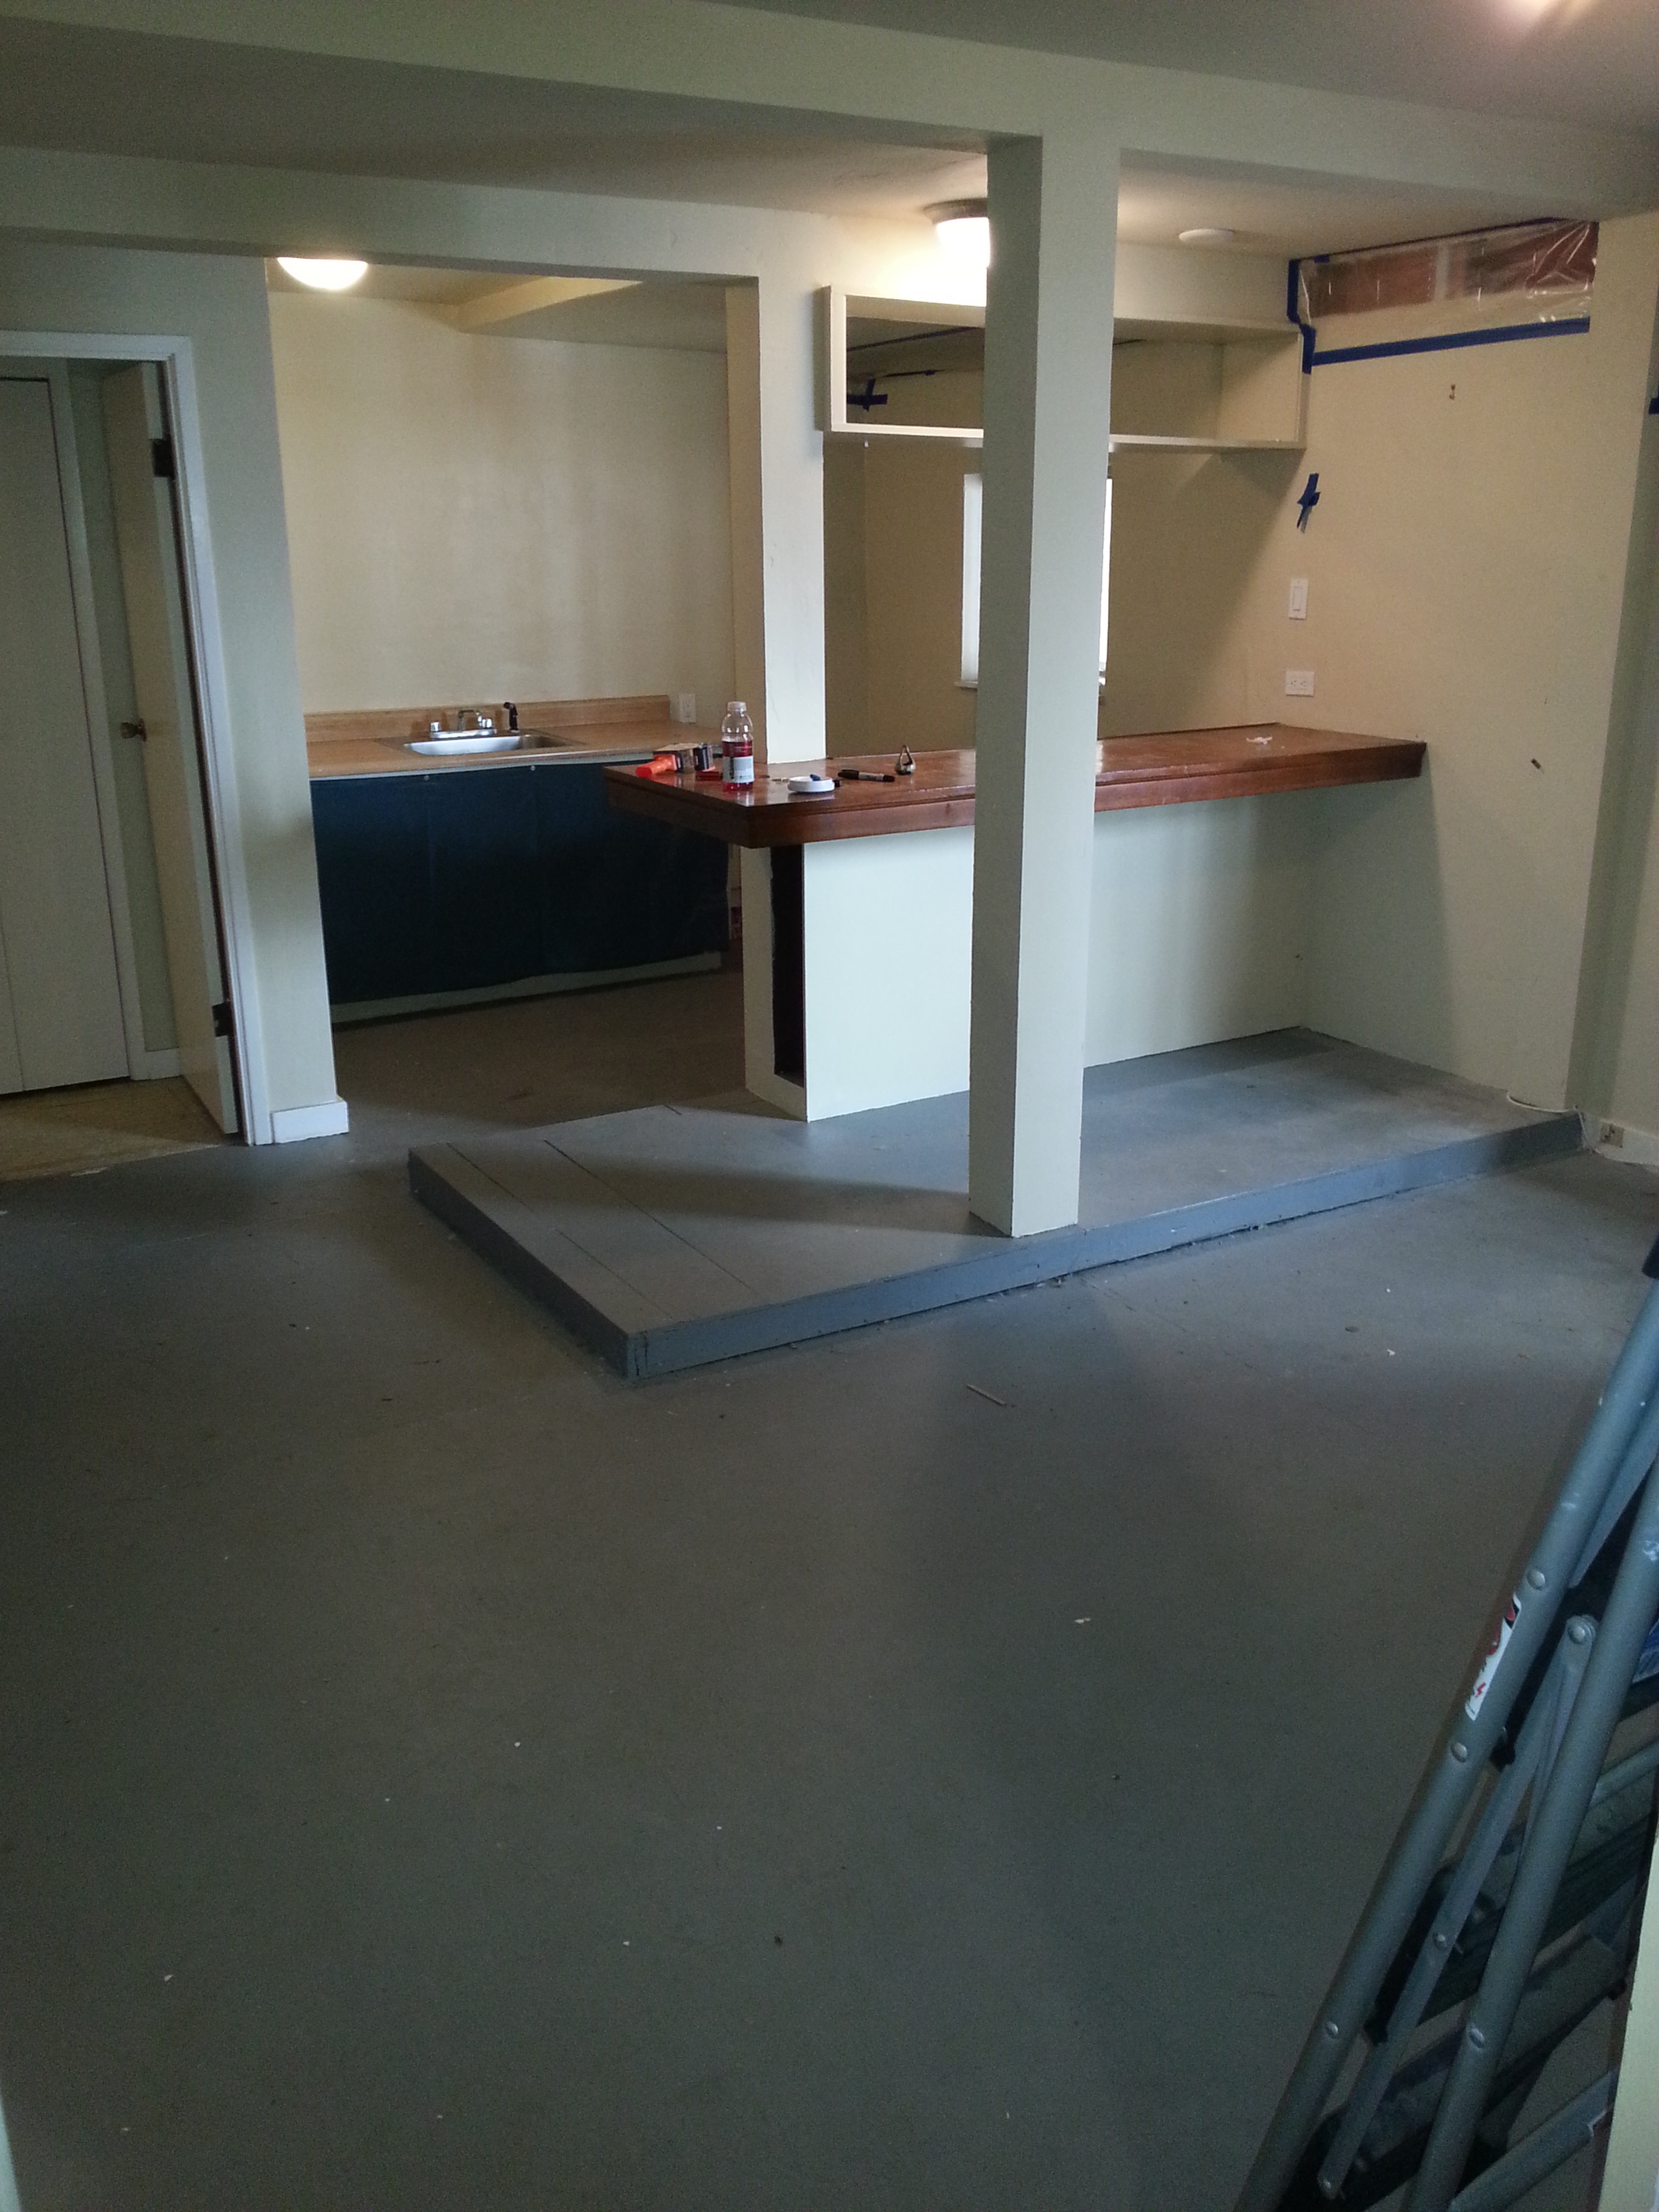
Now that all of you blog readers are well versed in the art that is installing a floor, I will spare you the details of what it took to raise the closet floor. Instead, I’ll show the summary in picture form:

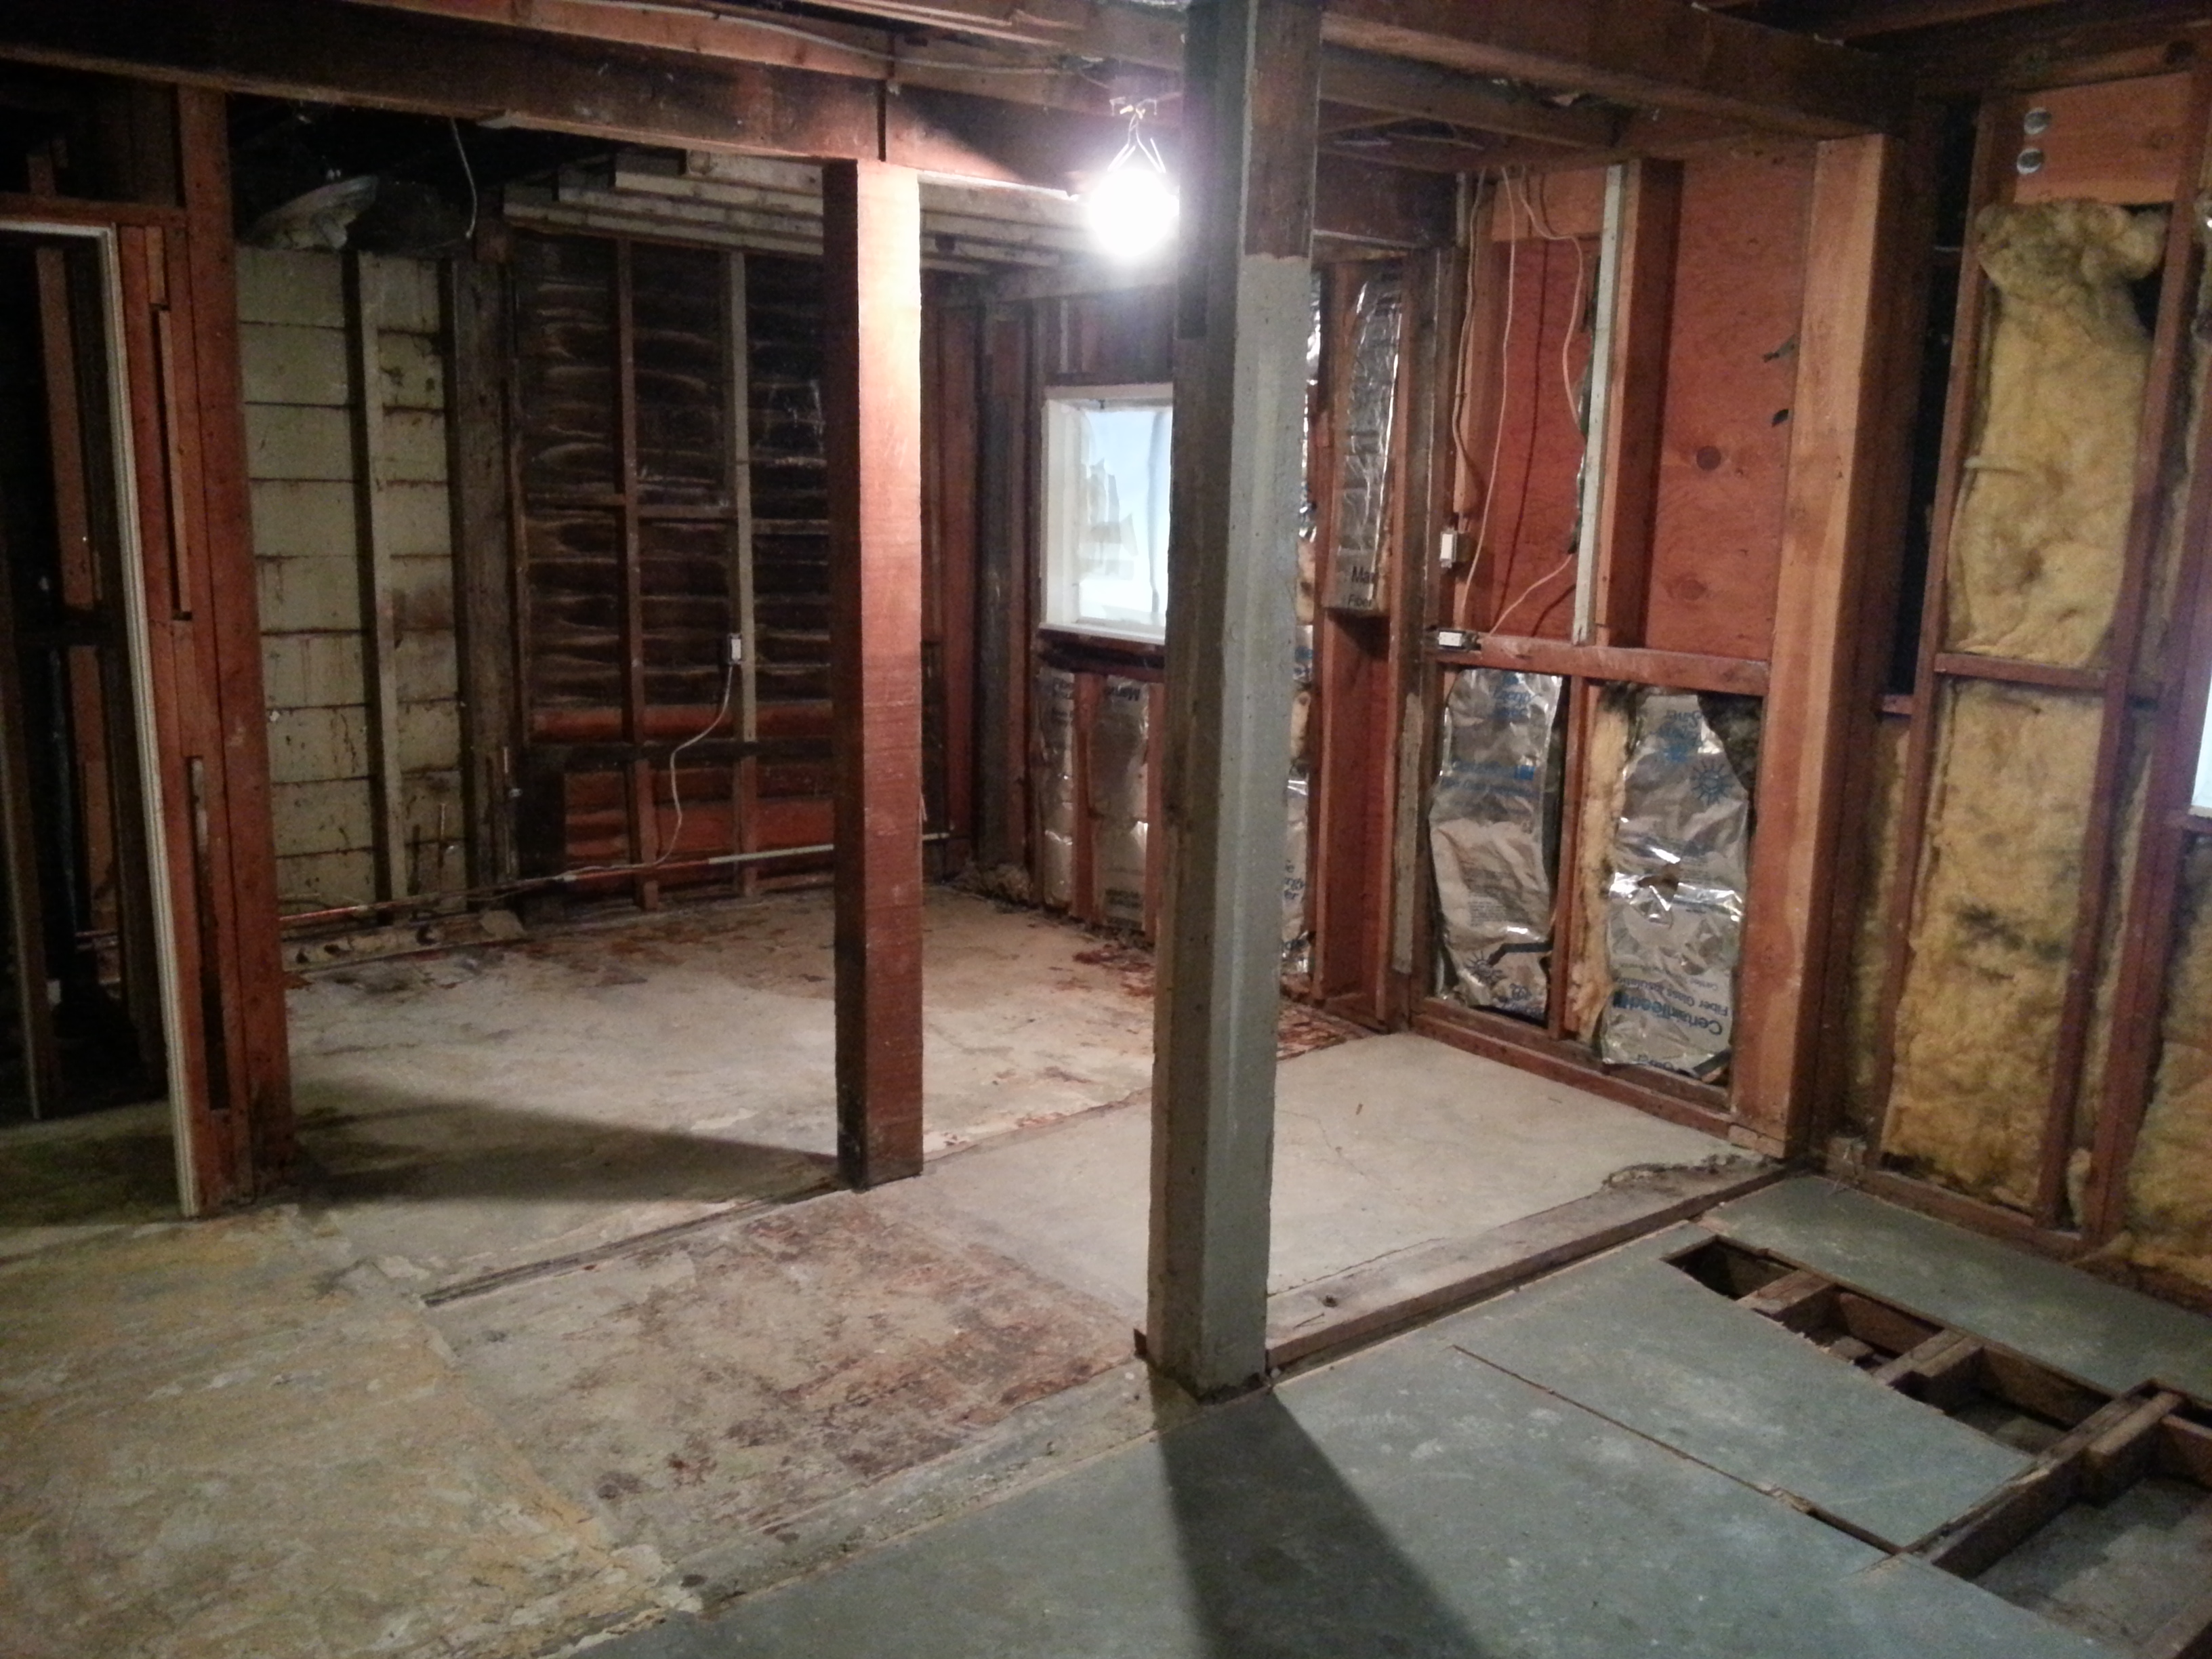
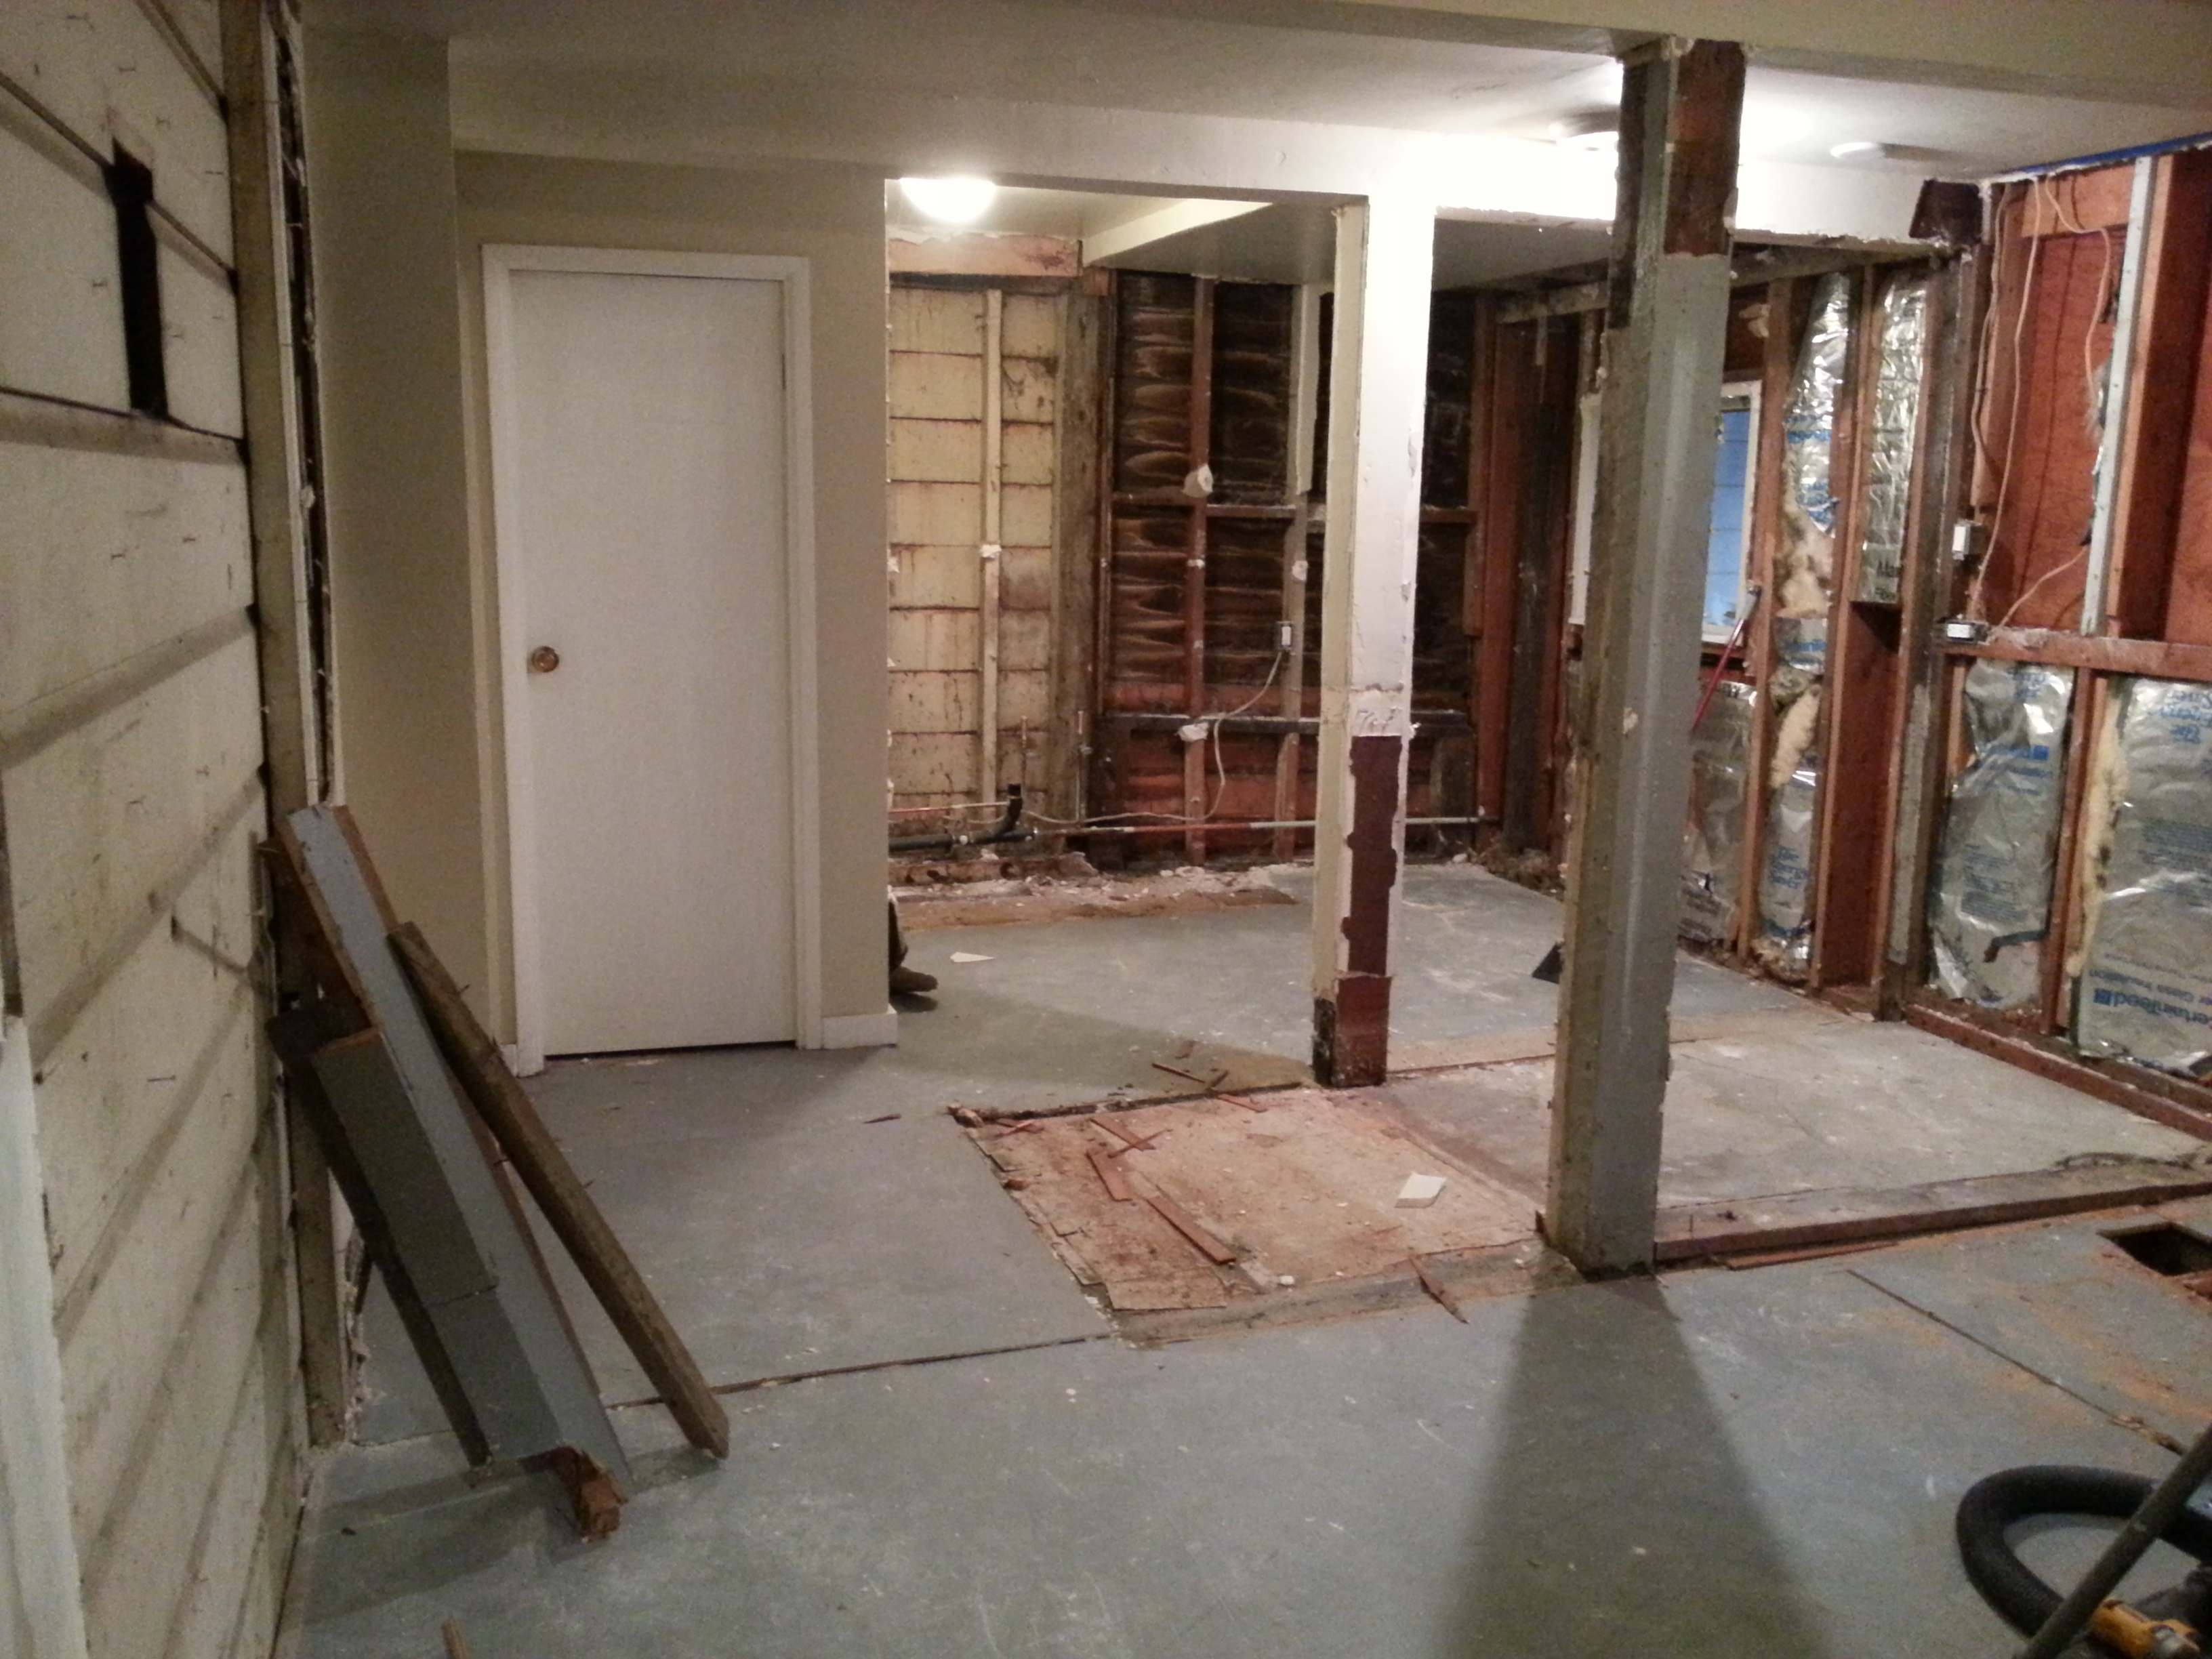
As you can see in the picture above, there is a significant drop off from the main floor of the room to the closet floor. While this didn’t bother me for a long time, when someone asked me about it the other day I decided that it would make more sense to bring it up to the height of the floor.


Unfortunately, the floor is about 1/2″ higher than the main room, but that may be able to be fixed when I put the new finished floor in. At least you won’t break your leg when trying to get a shirt out of the closet. It’s a…step…in the right direction. Get it? “Step” in the right direction.
Okay, moving on.
Support for Wall Mounted TV:
Here I just added a couple 2×4’s to the wall to give me something solid for the future attachment of the wall mounted TV arm.
BEFORE:

AFTER:

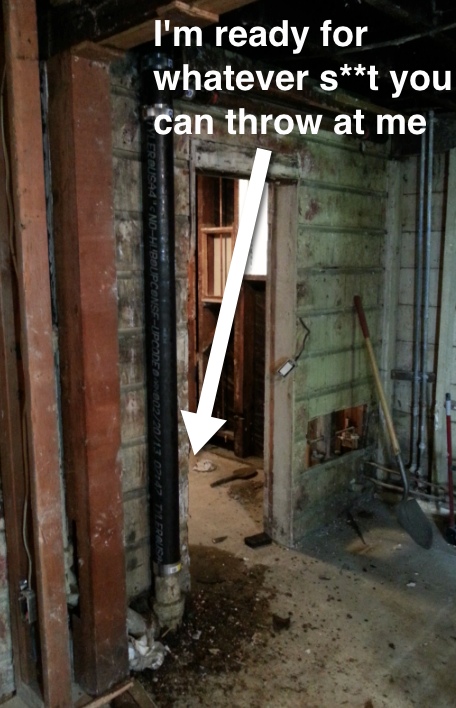
Support For Sliding Door Tracks
As you know we will have two wall-mounted sliding ‘barn’ doors in this room. One door will be for the closet and the other will be for the bathroom. Both of these sliding door tracks will be holding anywhere from 75lbs to 200lbs, depending on what type of door I decide to buy or build. These tracks will require a lot of support to carry that weight.
Here are the new supports for these doors:
Barn Style Sliding Closet Door:
BEFORE:

AFTER

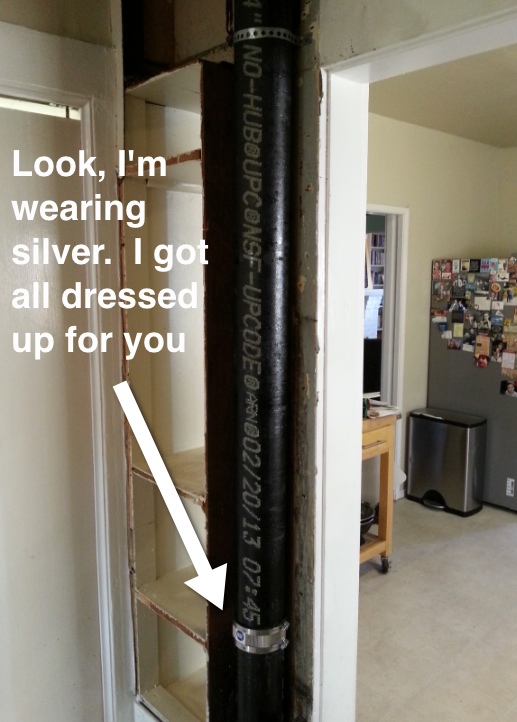
Bathroom Door
The bathroom door will also be on a wall mounted track, although this one will be a little smaller to fit in the limited space.

AFTER:

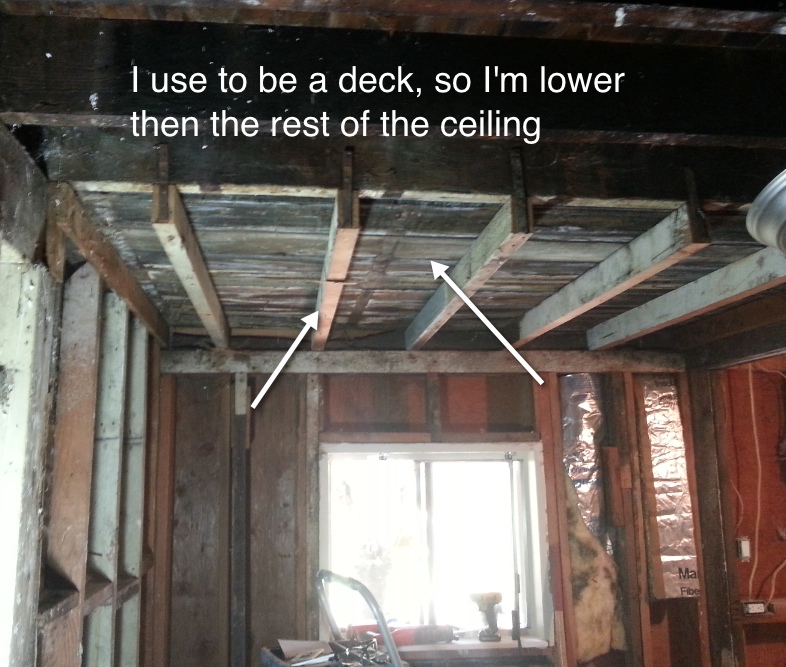
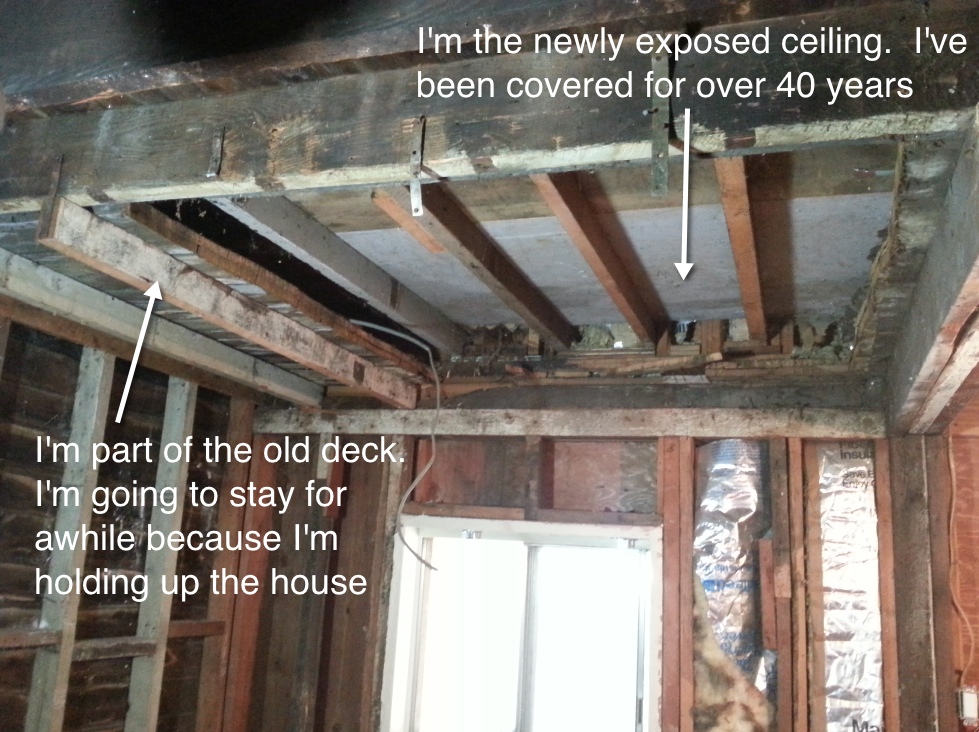
Stain The Joists:
As you may recall, I intend to drywall between the ceiling joists so that about 2″ of wood remains exposed. Since half of the room has beautiful old (original) Douglas Fir ceiling joists, and the other half of the room has new construction Douglas Fir, there is a noticeable difference between the colors of the two types of wood. The old wood is dark and rich like a freshly brewed cup of coffee, while the new wood is bright and golden like the afternoon sunshine.
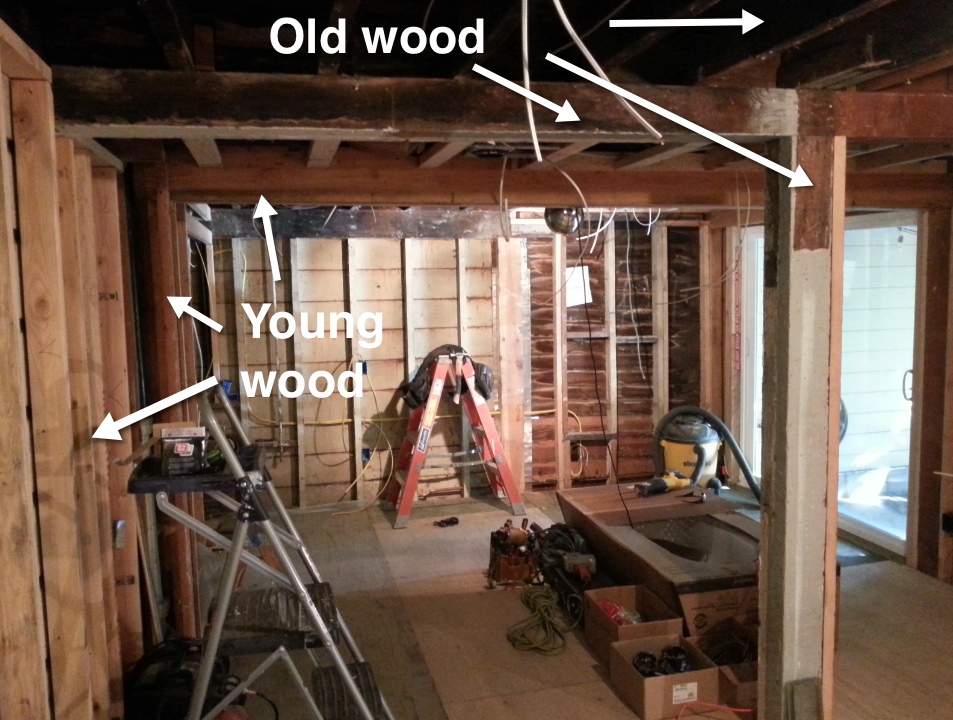
To create some degree of continuity, I decided to stain the new wood to get it to a closer color match with the old wood. Unfortunately, trying to reflect the difference in photographs is quite hard. The main beam, however, is big enough that you can see the difference in color. Check it out…
BEFORE:

AFTER:


With that work done, all I need to do is get the electrical to install one more outlet, get the plumber to set the tub and I’m on to insulating the walls and putting up drywall. Then things will get really exciting!