Turning Plywood into Rustic Flooring – Part 1
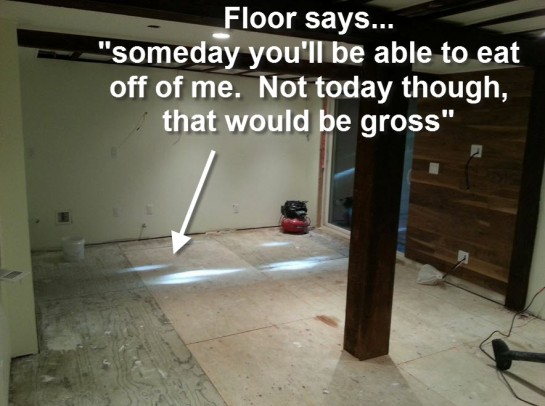
Hi Everyone! You may be wondering what I’ve been up since my last post. Now that the bathroom is nearly done, I’ve returned to the main living space of the In Law unit. Before I can install the kitchen and the crown/floor moldings I need to install the floor.
Now don’t get too excited, the floor isn’t quite done, but it is well on its way. Since this process has been a long one, I’m splitting the flooring posts into two phases. Now you might be asking “Beth, what’s taking so long for you to install flooring? Don’t you just snap it together?”
Well, blog reader, as usual, that’s an excellent question! You see, I like to think of flooring as the shoes of the house. When you walk up to someone who’s dressed to the 9’s, you might give them a good once over. You might look at their hair first and say, “nice style!” Then make your way down to their face and say “hey, that eye shadow makes your eyes POP!” Then you’d move down to their outfit…”that dress is really flattering.” Then, finally, the shoes! “Oh damn! Look at those digs!” That’s how I think of the floor. You walk into a house and you might think “nice paint” or “I love the exposed beams” but when you get to the flooring I want you to say “Wow! That flooring must have cost a fortune!”
Now, with that said, I do not want to spend a fortune on flooring. In fact, I want to do the opposite. Unfortunately, real hardwood flooring can be upwards of $6 a square foot, which could cost me over $2000. Since my budget was closer to the $400 range, I had to get creative. Finally, it came to me! Forget about hardwood, engineered or laminate flooring. Forget about tile and carpet (there’s nothing rustic about carpet…or if there is I don’t want to go near it). Instead, picture it…plywood.
**insert cricket sounds**
That’s right people, we’re going to use plywood! I know what you’re thinking… “Plywood? Really? You’re just going to nail sheets of splintery, rough, knotty wood to the floor?” No, my loyal reader…of course not! Would you expect me to get dressed up in my finest threads and then wear, well, something like this?
Of course you wouldn’t. Here…let me take you on a flooring journey. Just follow me…
Step 1: Buy Some Plywood
First, I went to Lowes and purchase around 14 sheets of 4’x8’ knotty pine plywood. We’re talking about their low-cost plywood, not their fancy maple plywood.
(Tip: If you’re going to try this for yourself, really examine each sheet to make sure it doesn’t have ugly cracks or plywood glue showing.)
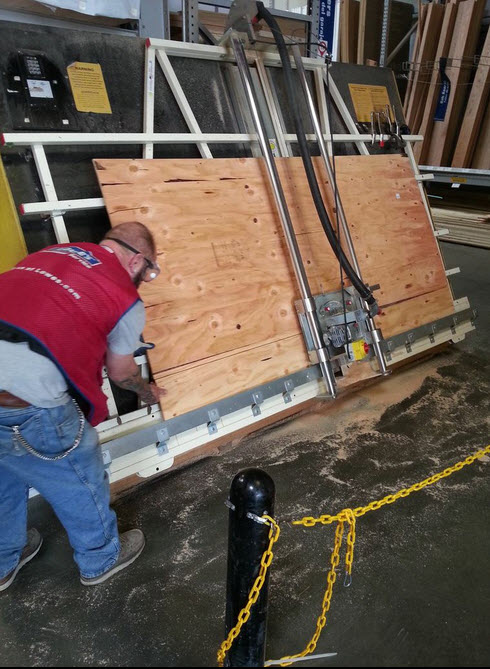
Step 2: Cut Plywood Into 8″ Strips
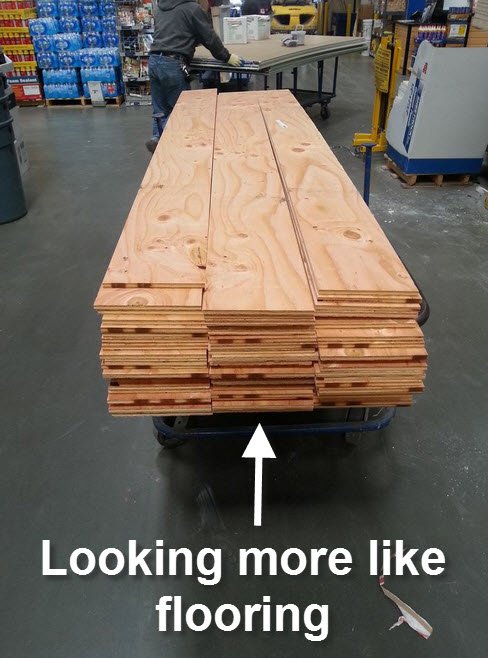
Once I had all of my sheets ready to go, I paid Lowes to cut them into 8” strips. By cutting them into 8″ strips, I’m able to get a nice even number of strips from each sheet, thus reducing waste.
(4′ sheets / 8″ strips = 6 strips per sheet)
While I do have a table saw at home, trying to cut the sheets into even strips would have been very difficult. Also, it only cost $.15 per cut, leaving me with a cost of around $15 for everything.
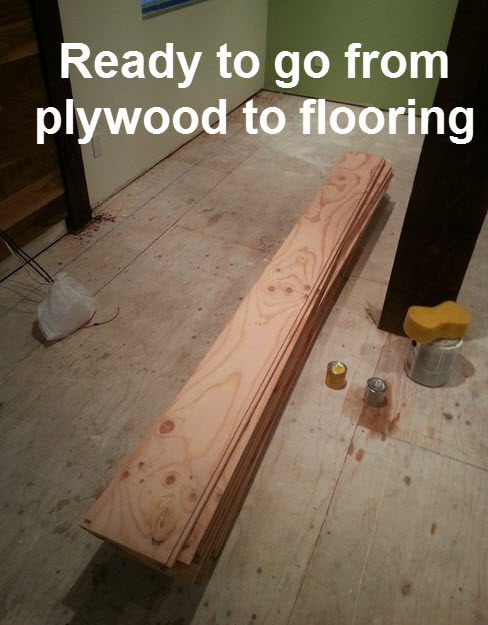
Step 3: Sand Away The Splinters
Now that all of my plywood has been cut into strips, it’s time to go home and begin sanding…and sanding…and sanding! While the lower grade plywood is cheap and rustic looking, it also has a ton of splinters. Since I don’t want my guests to get splinters in their feet, I tried to sand all of the pokey bits completely smooth.
Step 4: Mark the First Row of Flooring
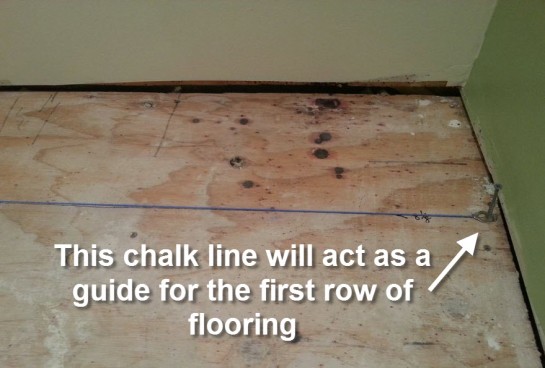
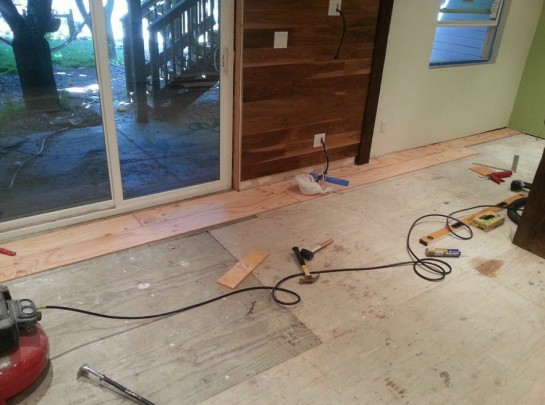
Finally, after many (MANY) weekends of sanding, I have officially gotten through ALL of the plywood strips. Now it is time to start laying the flooring. Since I’m going for that rustic, barn wood look, I am simply going to glue and then face nail the strips of plywood to the floor. I begin by marking the position of the first row of flooring. This is really important, otherwise by the time you get to the other side of the room your flooring could be crooked.
Step 5: Glue & Nail
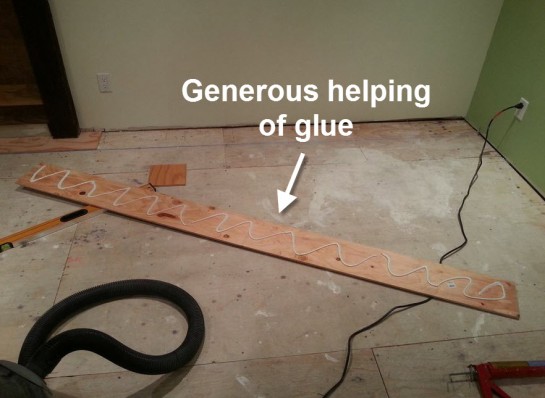
Once the line is marked I began to install the flooring. I first put a generous amount of heavy-duty construction adhesive on the back of the plywood. I then put it down in position and used my finishing nailer with 16 gauge nails to shoot 3 nails into the board every 6 inches.
Step 6: Space Flooring Properly
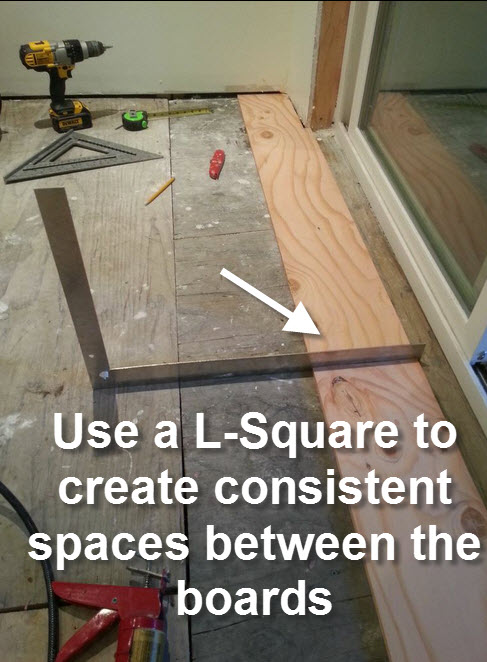
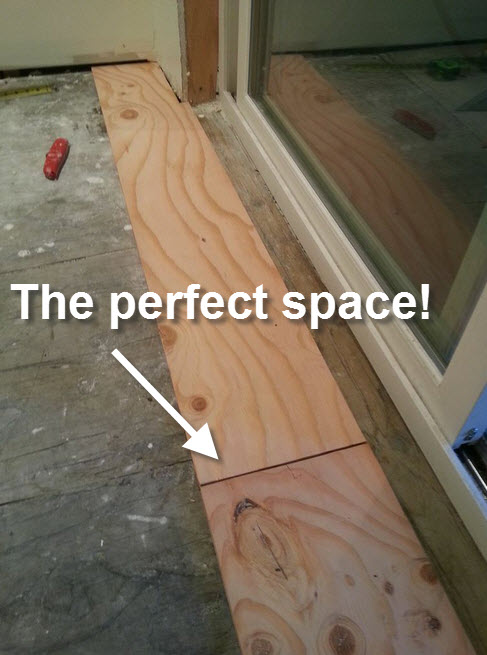
In order to properly space the boards I used my L-Square, which was the perfect width for me to use to separate the flooring strips.
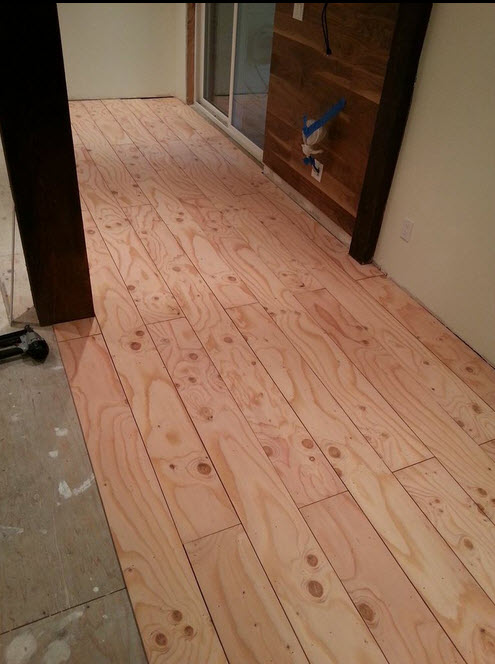
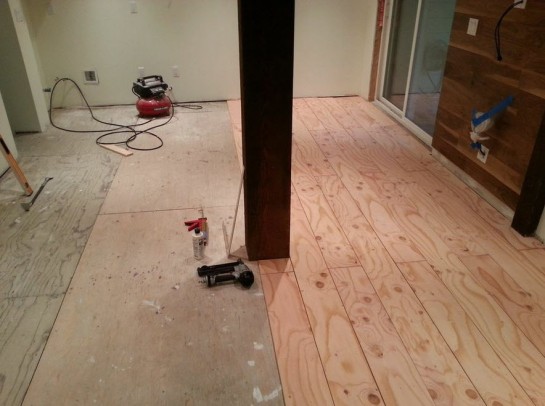
Now, continue to do that until the floor is finished.
I’m half way there! My next post will cover the second half of the flooring, along with staining and sealing. Stay Tuned!


You make it look too easy!
It looks amazing!!! What you have done in that room is nothing less than a miracle!
A true transformation indeed. And SO much work- Beth sanded her arms off!
Again, an amazing job, Beth! I am in awe of what you’ve done and LOVE reading your humorous and informative descriptions!
Beth, thank you for sharing your progress on the unit. As I’ve said before, you do great work, and great work describing your progress! Good luck getting close to the finishing stage!
Terry
I never imagined you could use plywood to create a floor but you’re doing an incredible job.